
Paint by Numbers Guides

A Creovia beginner guide
How to Paint Faces in Paint by Numbers: Portrait Detail Tips
Paint portrait details with practical tips for eyes, lips, small numbered areas, color boundaries and brush selection.
To paint a face in a paint by numbers portrait, keep the numbered shapes readable, use a brush that fits the area, and let neighboring colors dry before working along a delicate boundary. The eyes, lips and small shadows can look intimidating, but they are still a collection of numbered shapes—not a test of your ability to draw a face from memory.
Start with the chart and the paint supplied for your chosen version. A realistic portrait may use several close skin tones; a colorful portrait may use turquoise, coral or yellow in the same places. Follow the numbers first, then decide whether the completed picture needs any small corrections.
Study the whole face before opening the paint
Look at the reference artwork and locate the eyes, nose, lips and the main light and dark shapes. Then inspect the numbered canvas. The reference gives you the overall composition; the actual canvas and its key tell you which paint belongs in each printed space. Do not assume that a particular shade must represent an eye or a shadow based on color alone.
Take a clear photo of the untouched canvas and its key before painting. Zooming in on that reference can help if an accidental brushstroke later covers a tiny number. Keep the original key nearby and write down any uncertain number before painting around it. If the printed number cannot be identified, pause and contact the seller instead of guessing between similar colors.
Place the canvas in good, even light, with the area you are painting comfortably within reach. A magnifier may help you read a tiny label, but it is also useful to step back occasionally: a face is meant to be seen as a whole, not only from a few inches away.
Choose a brush that fits the shape

For a narrow eyelid or the edge of a lip, use a small pointed brush that lets you see the printed boundary. For a wider cheek or forehead shape, a slightly larger brush can cover the area more evenly. You do not need to paint the entire face with the smallest brush: tiny tips hold less paint and can encourage repeated strokes over an area that is already beginning to dry.
If your kit brush has a clean point and fits the space, use it. If you want additional fine points, Creovia's Precision Detail Brushes set contains six detail brushes and currently offers black or white handles. Rinse the brush between colors, reshape its tip gently and blot away excess water before dipping into the next pot.
Load a small amount of paint on the tip. Too much paint can obscure the number or run beyond a narrow shape; too little may leave the brush dragging. Try a short stroke inside a larger area of the same color and adjust the amount before approaching an eye or lip.
Work one numbered area at a time
Choose an area where the number is clear. Start inside the shape and guide the paint toward the boundary rather than pushing a loaded brush directly over the line. Use light pressure so the bristles do not spread wider than the space. For a curved boundary, turn the canvas or change your hand position if doing so makes the stroke easier to control.
Let a neighboring area dry before painting right next to it, especially where a dark eyelash meets a pale eyelid or a lip meets the skin. If the paint on either side is still wet, a small touch can move one color into the other. Close each pot after use so you can return to it for a correction later.
There is no single required order for every portrait. Working from larger areas toward small details can make the structure easier to see, while finishing one color across several separated areas may reduce brush changes. Choose an order that keeps the remaining numbers readable and avoids resting your hand on wet paint.
Eyes and lips: keep the printed shapes
The eye often has several tiny neighboring areas. Paint the numbered shapes you can identify, allowing each adjacent color to dry before continuing. Do not add a dark outline around the whole eye unless you deliberately want to change the design: an extra line can make the feature heavier than the reference.
For lips, follow the separate shapes for highlights, shadows and the edge. A highlight may be lighter or more colorful than you expect. Work from the printed guide rather than mixing a new color to match an imagined skin tone. Once the area is dry, view it from a normal distance before adding more paint; a tiny mark that looks large close up may be barely noticeable on the wall.
If a brushstroke crosses a boundary, let it dry and touch up the affected area with its original numbered color. Use a clean fine point and a small amount of paint. If the number has been covered and you are unsure of the correct pot, consult your untouched-canvas photo or key first.
Two portrait styles, two ways to look at color

The Woman with Red Flower Crown kit pairs a floral crown with a portrait in softer neutral tones. In an image like this, the relationship between neighboring light and dark shapes helps define facial features. Before touching up a small area, check the reference and the printed boundary so you preserve the contrast already planned in the design.

The Colorful Woman Portrait kit uses bold yellow, turquoise, coral and magenta in the portrait. Those unexpected colors are part of the artwork. Resist replacing them with a conventional skin color simply because a small patch looks unusual on its own; see how it relates to the surrounding shapes.
Both current listings describe a 40 × 50 cm numbered canvas with 24, 36 or 48 color choices and canvas-only, DIY frame or framed options. Select the version you prefer and use its own key: the contents and numbered areas of one version should not be assumed to match another.
When a light color does not cover the number
Apply an even coat within the printed shape and let it dry before judging coverage. If the number remains visible, a second thin coat of the same color may help. Avoid piling on a thick layer while the first is wet; thick paint can soften the edges and obscure the texture of a small feature.
Do not cover an unread number with a different product as a shortcut unless you have confirmed its number and checked that the material is suitable for your canvas and paint. For more detailed troubleshooting, read how to cover numbers on a paint by numbers canvas.
Frequently asked questions
Do I need to know how to draw a face to paint a portrait kit?
No. Follow the numbered shapes and corresponding paint in your kit. Review the reference image to understand how the shapes fit together.
What brush should I use for small facial details?
Use a clean, pointed brush that fits the printed area and allows you to see its boundary. A larger brush may be more comfortable for wider shapes.
Should I blend the skin tones in a paint by numbers portrait?
Follow the numbered colors first. Optional blending changes the planned edges, so practice separately and keep the original colors available for corrections.
How do I fix paint that crosses an eye or lip boundary?
Let the paint dry, identify the correct original color using the canvas key or a reference photo, and make a small touch-up with a clean pointed brush.
Why are some portrait colors bright blue or yellow?
Some portrait designs intentionally use expressive colors. Check the artwork and your kit's numbered key rather than assuming every face uses naturalistic skin tones.
Explore this topic
Explore related kits
Compare the current artwork and options on each product page before choosing.


Find your next project
Explore paint by numbers kits.
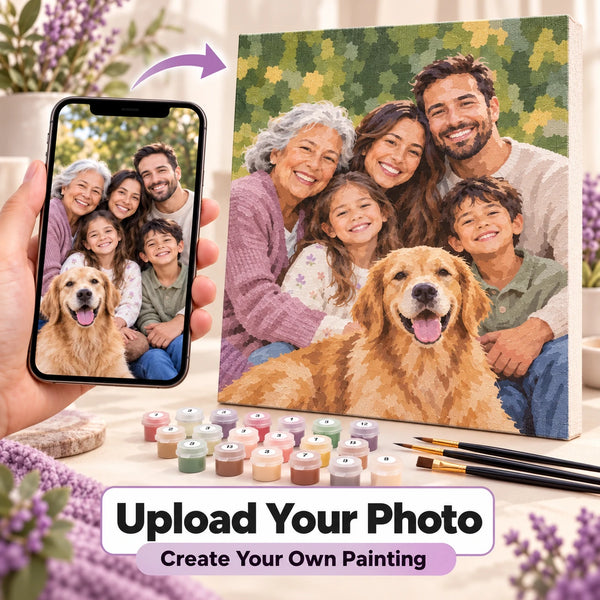
Custom Paint by Numbers Kit From Your Photo
$34.99

Moonlit Ocean Serenity Paint by Numbers Kit
$29.99

Herb Bundles in a Spell Kitchen Paint by Numbers Kit
$29.99

Chalk Cliffs Sea Grass Paint by Numbers Kit
$29.99

Woman With Teacup And Flowers Paint by Numbers Kit
$29.99

Yellow Mimosa In Blue Vase Paint by Numbers Kit
$29.99

Yellow Sunflowers And Daisies Paint by Numbers Kit
$29.99

