
Paint by Numbers Guides

A Creovia beginner guide
How to Paint Hair in Paint by Numbers: Portrait Tips
Learn to paint portrait hair by following numbered light and shadow shapes, keeping fine edges clean and choosing a suitable brush.
To paint hair in a paint by numbers portrait, follow the numbered shapes that create the light, shadow and direction of the hair. Work from readable areas toward the narrow strands, let neighboring colors dry, and use a brush small enough to stay inside each shape. You do not need to draw every individual hair to make the portrait feel complete.
Hair can contain many colors that look surprising on their own. A golden curl may include cream, orange and brown; blue hair may include violet or pale highlights. Use the key for your exact canvas and look at the full reference image before changing a color or adding extra lines.
Read the hair as groups of shapes
Before opening a paint pot, look for the broad areas that describe the hairstyle: the dark sections underneath, the lighter areas where the hair catches the light, and the outer edge where it meets the background. The reference artwork shows the intended overall effect, while the numbers printed on your canvas determine which paint goes into each space.
Take a clear photo of the untouched canvas and the color key. Fine hair shapes can be close together; a reference photo gives you a way to check a number if a later stroke covers it. Zoom in to read, then step back and look at the full composition. A highlight that seems disconnected up close may become part of a curl when viewed from a normal distance.
Keep the project version and its paint pots together. If the same artwork is sold with different color counts, use the key and paint supplied for the version you chose rather than assuming another version has identical numbered areas.
Start with larger sections you can identify
Choose a clearly numbered hair shape and use the matching paint. Begin within the area, then guide the paint toward its edges with light pressure. For a broad shape, a brush that holds enough paint to cover smoothly may be more useful than the smallest detail brush. Close the pot after use so you can return to it for a second coat or correction.
There is no mandatory order that works for every canvas. You may prefer to complete the larger hair shapes first so the hairstyle is easier to read, then return to the tiny strands. Or you may work one color across the canvas to reduce brush changes. In either case, keep nearby numbers visible and avoid placing your hand on wet paint.
Allow adjacent shapes to dry before touching their shared boundary. This is especially useful where a dark lock meets a pale highlight: wet colors can pick up on the brush and blur the edge. The goal is to preserve the contrast already drawn into your kit, not to create a new outline around every shape.
Follow the direction of a curl
Look at how each numbered area curves. On a long lock, use short, controlled strokes that follow the shape rather than dragging the brush across several neighboring areas. Turn the canvas if that makes a curve easier to reach. Rest your forearm on a clean, dry part of the table so the brush can move without hovering over wet paint.
For a very narrow strand, start with a clean pointed brush and a small amount of paint. The Precision Detail Brushes set contains six fine-point brushes; it is an optional tool if the brush you already have does not fit a small area. Rinse between colors, gently reshape the tip and blot excess water before taking paint from the next pot.

Do not press hard to make a fine point cover more quickly. Heavy pressure spreads the bristles and can push paint across the boundary. If the brush drags, check that it is clean and that the paint is workable according to the kit directions. Test a short stroke away from a delicate edge before continuing.
Golden hair: keep the light and dark areas distinct

The Golden Haired Woman Portrait kit shows flowing golden hair against a dark background. Look at the reference as a whole: bright locks, deeper shadows and the darker surrounding area all contribute to the contrast. On the numbered canvas, identify each area before painting instead of filling every section with a single yellow.
Where a pale strand meets a dark shape, give the first color time to dry before applying the second. If a number is still visible through a light color, let the first coat dry and add a thin second coat of the same paint as needed. Avoid a thick mound of paint in a narrow highlight.
Blue hair and flowers: separate overlapping details

The Enchanted Flower Girl Portrait kit surrounds blue hair with bright flowers and butterflies. The reference image contains many neighboring colors, so check whether a small numbered space belongs to the hair, a flower or the background before you start. Keep the key beside the canvas rather than guessing by location.
If a flower edge and a hair strand are close together, finish a clearly identified area and let it dry before painting its neighbor. Use the point of the brush to approach a narrow boundary; a slightly larger brush may still be better for the wider areas around it. Preserve the number of an unpainted detail until you are ready to use it.
Both listings currently describe a 40 × 50 cm canvas and choices of 24, 36 or 48 colors, with canvas-only, DIY frame or framed options. Check the selected variant and use its own supplied color key.
When a line crosses into another color
Stop and let the accidental stroke dry. Identify the affected area's original number from the canvas, key or a photo taken before painting. Then use a clean fine brush and a small amount of the correct paint to restore the boundary. If you cannot identify the number, ask the seller rather than mixing a substitute by eye.
Stand back before making repeated corrections. Paint by numbers pictures often use simplified shapes; a slightly irregular edge may disappear at normal viewing distance. Adding many freehand strands or repeatedly layering wet paint can make an area harder to correct. If you choose to add personal details, practice separately first and keep the original colors available.
For the face beside the hair, the related guide to covering numbers offers more help with light colors. Let the finished painting dry according to the kit instructions before handling or framing it.
Frequently asked questions
Do I need to paint every strand of hair?
No. Follow the numbered color shapes in your kit; their light and dark areas create the hairstyle without drawing every individual strand.
What brush is useful for narrow hair details?
A clean pointed brush that fits the printed area can help. Use a larger brush for wide areas if it gives you smoother coverage.
Should I blend the hair colors together?
Follow the numbered shapes first. Blending is optional and changes the printed design, so practice separately before altering the canvas.
How do I fix paint that crosses a hair boundary?
Let it dry, identify the original color using the key or an untouched-canvas photo, and carefully touch up with a clean pointed brush.
Why does a hair highlight look like an unusual color?
Highlights and shadows can use unexpected colors as part of the design. Check the reference artwork and use the color assigned by your canvas key.
Explore this topic
Explore related kits
Compare the current artwork and options on each product page before choosing.


Find your next project
Explore paint by numbers kits.
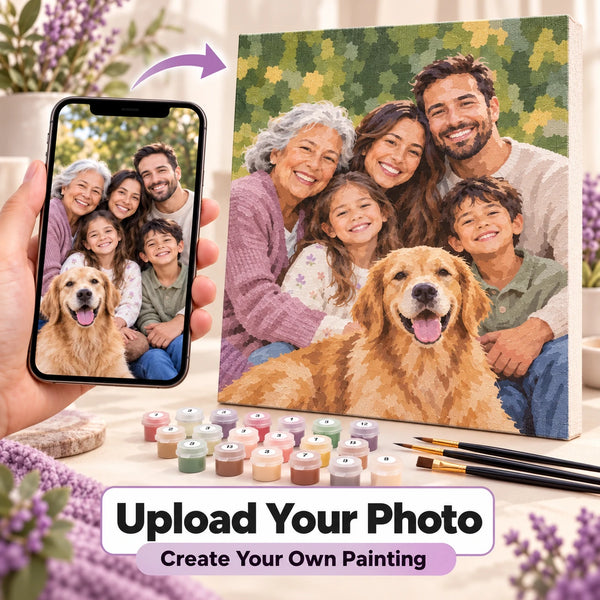
Custom Paint by Numbers Kit From Your Photo
$34.99

Moonlit Ocean Serenity Paint by Numbers Kit
$29.99

Herb Bundles in a Spell Kitchen Paint by Numbers Kit
$29.99

Chalk Cliffs Sea Grass Paint by Numbers Kit
$29.99

Woman With Teacup And Flowers Paint by Numbers Kit
$29.99

Yellow Mimosa In Blue Vase Paint by Numbers Kit
$29.99

Yellow Sunflowers And Daisies Paint by Numbers Kit
$29.99

