Diamond Painting Guides
A Creovia beginner guide
Why Do Diamond Painting Drills Pop Off? A Practical Troubleshooting Guide
Work out whether lifted diamond painting drills are caused by alignment, canvas movement, debris, or a wider gripping problem before choosing a fix.
Why Do Diamond Painting Drills Pop Off? A Practical Troubleshooting Guide
A drill that lifts after you place it is frustrating, but the fix depends on where the problem starts. One loose piece beside an uneven row is different from a whole patch that will not stay down. First identify whether the issue follows particular drills, a section of canvas, or the way the project is being handled. That short check can save you from pressing harder on a surface that needs a different solution.
Keep the protective sheet on every area you are not working on. Work over a clean, flat table, and set aside any loose drills so their color codes do not get mixed. The checks below are general craft guidance; follow the instructions supplied with your specific kit when they differ.
Find the pattern before trying a fix
Look at three or four lifted drills rather than the entire picture. Are they all the same color, all along one edge, or scattered across several colors? Check the canvas key and the packet label. A symbol mismatch can make a drill seem badly seated when it is simply in the wrong spot. If only one color behaves differently, compare a few pieces from that packet with neighboring colors. Size and shape should match the chart specified for the kit; do not force a larger piece into a smaller marked space.
Look across the row from a low angle. A straight row gives neighboring drills room to sit flush. When pieces are crowded or placed at an angle, one edge can catch as you work beside it. Move a misplaced drill gently with the placement tool before adding more. Do not pull at a firmly attached piece just to make every line look mathematically perfect.

Check the canvas surface
Dust, lint, and loose wax on a working patch may interfere with placement. Inspect the exposed area in good light. If you see debris, remove only the loose material with a clean, dry tool suited to the kit. Avoid washing the adhesive area or adding household glue without instructions from the seller. Those changes can affect the printed canvas and may make later troubleshooting harder.
Exposure matters too. Peel back only a manageable section of protective film while you work, then cover the remaining adhesive again. If a large area has been left uncovered, note whether the popping drills are concentrated there. A small test area tells you more than pressing the entire canvas at once. If the adhesive does not seem to grip across a broad section, document it with photos and ask the seller what they recommend for that specific kit.
Make sure the canvas lies flat
A canvas that curls from storage can flex under your hand. That movement can shift a freshly placed row, especially near an edge. Set the project on a stable, flat surface and smooth the backing as its instructions allow. If the roll or crease is the main issue, our guide to flattening a curled diamond painting canvas covers preparation before you continue filling the picture. It is easier to judge drill adhesion after the surface stays still.
Sliding a finished section against a table edge, stacking supplies on top, or repeatedly folding the canvas can catch raised drills. Move it by the backing and support it rather than lifting it by one corner. Keep unworked sections under their sheet while repositioning the canvas.
Reseat a small loose area gently
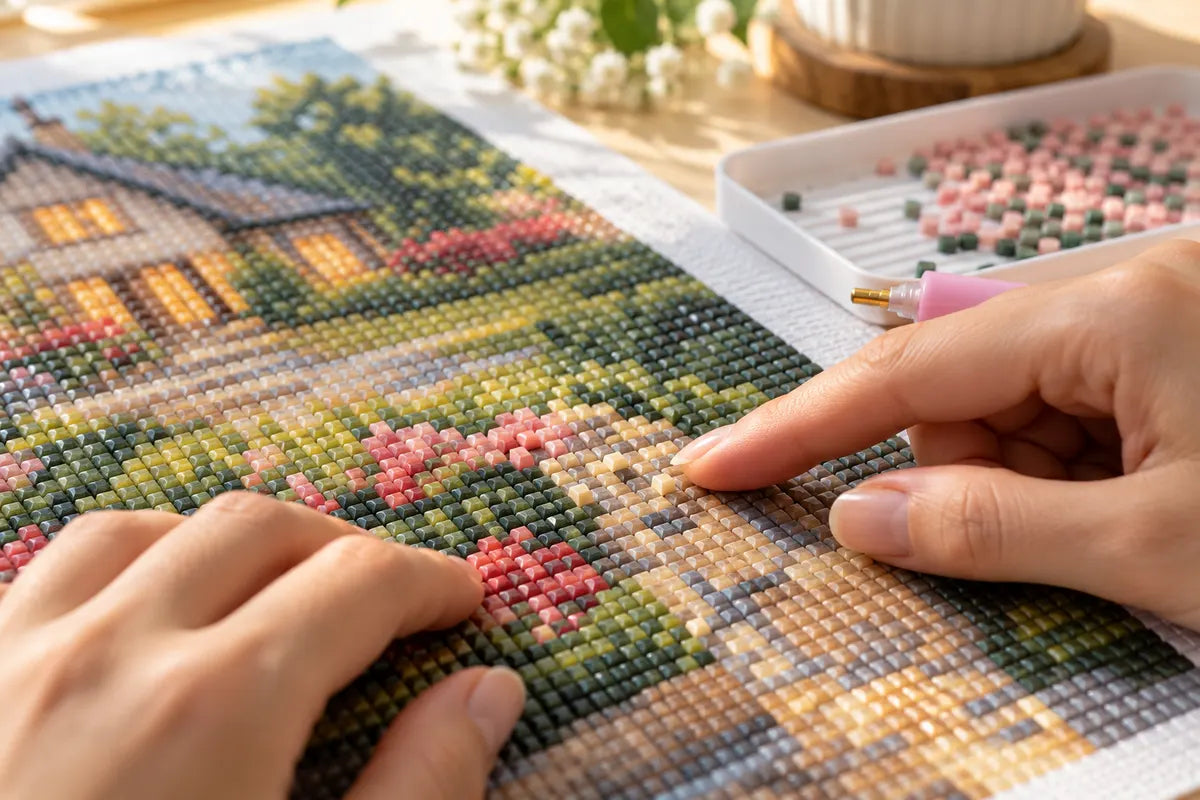
For a few isolated pieces, place each drill on its assigned symbol and check its alignment. Put the original protective sheet or suitable release paper over the finished patch before applying light, even pressure with a clean hand. Lift the sheet to check whether the pieces sit level. Stop if the canvas shifts, the print marks, or the drills move sideways. More force is not evidence of a better bond.
A roller can help distribute gentle pressure over a completed section, but it is an optional placement aid, not a repair for an adhesive problem. Creovia lists a detachable diamond painting roller with a ribbed surface for evenly pressing finished drill areas. Check its current product listing for compatibility and use details before adding it to your setup. Our roller technique guide explains how to avoid pressing too hard. Test a small completed corner before rolling a large panel.

When to stop adjusting and ask for help
If many drills lift again after careful placement, do not keep swapping tools or adding adhesives at random. Photograph the full canvas, a close-up of the affected area, the color key, and the packet labels. Note whether the problem appears with one color or across several sections. Those details help the seller distinguish a placement issue from a material question without guessing from a single image.
If the affected pieces turn out to be the wrong color or a packet is short, follow our missing drill color checklist rather than substituting a near match. If your project is already finished and you are considering a top coat, read when to seal a diamond painting first. Sealing is a finishing choice; it should not stand in for finding out why a fresh section will not hold.
A quick diagnostic checklist
Match the lifted piece to the canvas symbol and packet code. Check whether the issue follows one color, one edge, or a wider patch. Inspect for lint, exposed adhesive, crowding, or a curled canvas. Reseat a few pieces and use only light, even pressure through a protective sheet. Contact the seller with clear photos if a broad area keeps lifting.
Most useful troubleshooting starts with a small area. When you know whether the problem is a crowded row, a flexing canvas, or a section that will not hold any color, the next step is clearer. Keep the rest of the artwork protected while you decide.
Frequently asked questions
Why do diamond painting drills pop off after I place them?
A drill may lift because its row is crowded, the canvas flexes, debris sits on the working area, or a wider patch does not grip as expected. Check a few pieces and the affected area before choosing a fix.
Should I press harder when diamond painting drills keep lifting?
Start with light, even pressure over a protective sheet or suitable release paper. If the same patch keeps lifting, stop and inspect the surface rather than increasing force.
Can I use a diamond painting roller on loose drills?
A roller may help seat a small completed section evenly. It cannot correct a mismatched drill, debris, or an adhesive problem. Test a small area and follow the tool and kit instructions.
What if only one color of drills will not stay on the canvas?
Compare that packet with the canvas key and neighboring colors. Check whether the pieces fit their marked spaces and whether the problem follows that packet throughout the project.
Should I seal a diamond painting to stop new drills from popping off?
Find the cause of lifting first. Sealing is a finishing decision for a completed project, and its suitability depends on the materials and finish you want.
Find your next project
Explore diamond painting kits.

Colorful Village Street Diamond Painting Kit
$23.99

Kit de pintura de diamantes Cabaña navideña acogedora
$23.99

Tropical Hibiscus Queen Diamond Painting Kit
$23.99

Tropical Macaw Hibiscus Diamond Painting Kit
$23.99
Pink Dragon Cherry Blossom Pagoda Diamond Painting Kit
$23.99

Blue Hydrangea Village Diamond Painting Kit
$23.99
Ragdoll Cat Rose Window Diamond Painting Kit
$23.99