Diamond Painting Guides

A Creovia beginner guide
How to Film Diamond Painting ASMR Videos
A simple phone setup, clear sound, steady camera angles, close-up shots, and light editing for diamond painting ASMR videos.
Diamond painting ASMR videos work best when they feel close and unhurried. You do not need a studio or a complicated sound setup to begin. A steady phone, a quiet corner, and a few repeatable shots can make a clear, calm video about moving drills from tray to canvas.
I’d treat the first recording as a small practice run, not a performance. Pick one section of the canvas, decide which sounds you want to keep, and record a short sample before setting up a longer session. That gives you a chance to check the picture and sound while changing only one thing at a time.
Choose a few sounds to build the video around
Diamond painting has several small sounds that can work well on camera: drills shifting in a tray, a stylus picking one up, a drill being placed on the adhesive canvas, or a short pause while you change colors. You do not need to include every sound. A simple video often feels easier to follow when it repeats one or two actions instead of jumping between many tools.
Before filming, arrange the tray and canvas so you can work without reaching across the microphone or bumping the phone stand. Keep only the colors and tools you need for the section on the table. If a drill rolls away or a container lid clicks loudly, pause and reset the area rather than trying to hide every sound later.
Set up a phone and a quiet recording space
A phone is enough for a first diamond painting ASMR video. Put it on a stable stand, clean the camera lens, and turn off notifications. If your room has a fan, air conditioner, or other steady hum, listen to a short test clip and decide whether you can reduce it safely. Do not block the phone’s microphone with a case, stand, or your hand.
Soft, even light helps the camera show the canvas without harsh glare. A window can work well if the light is indirect. If reflections make the drills look like white spots, move the light source or turn the canvas slightly before changing your camera settings.
YouTube’s mobile filming tips recommend checking the recording space for background noise and using a phone microphone when that is all you have. For a quiet craft video, the same basic idea applies: make a short recording, listen back, and adjust the room or microphone position if the sound is difficult to hear.
Pick a camera angle you can keep steady
An overhead view makes it easy to see the tray, the section you are working on, and the movement from one to the other. A 45-degree angle can show more depth and the shine of the drills, but it may also cast a shadow across the canvas. A close view is useful for a short placement sequence; it is less useful if the camera loses focus every time the stylus moves.

Keep the stand on a separate, firm surface when possible. A phone clipped to a surface that moves with your arm can shake whenever you reach for the tray. Frame a small test, place a few drills, then watch the clip. Check whether the canvas stays sharp, the tray remains in view, and the lighting changes as you move.
If glare makes a close-up hard to read, our guide to lighting a diamond painting canvas without glare covers ways to arrange the light before filming.
If the video will be vertical or horizontal, choose that before arranging the workspace. Vertical framing leaves less room on either side of the canvas; horizontal framing can show more of the desk. Either can work. The useful choice is the one that fits the place you plan to post and still keeps the tray and working area visible.
Use a short shot list instead of filming everything
A simple shot list keeps a diamond painting ASMR video from becoming one long, hard-to-follow clip:
- Wide view: show the canvas, tray, stylus, and a tidy part of the desk.
- Tray close-up: record a small group of drills being poured or gently lined up.
- Placement view: capture a short run of the stylus picking up and placing drills.
- Pause: leave a few quiet seconds between actions so the next sound does not feel rushed.
You can record each part as a separate clip. Leave a beat before and after the action so trimming is easier. Keep the camera in the same position for a few repeated placements; the steady view makes the movement easier to watch. If a sound is too sharp, try moving the microphone slightly farther away rather than turning every sound down in editing.

Edit lightly and keep the natural pace
Start by removing the parts where you are adjusting the stand or searching for a tool. Keep the small pauses that make the clip feel calm. If there is a low room hum, use a light noise-reduction setting and listen again with headphones. Heavy filtering can make drill and stylus sounds thin or artificial.
Music is optional. If you add it, keep it low enough that the craft sounds remain easy to hear. On-screen labels can help explain a step, but they are not needed in every shot. A short title or caption can say what the viewer is seeing, such as “sorting one color” or “placing drills along the edge.” Avoid promises that a video will be relaxing for everyone; sound preferences are personal.
When the edit is ready, watch it once on a phone with the volume at a comfortable level. Check for sudden loud clicks, moments where the image goes soft, and clips that repeat without adding anything. A clear, simple sequence is easier to follow than a crowded edit.
Choose artwork that reads clearly in close-up
If you want a canvas to film, look for a design with visible color changes and a section you can work in a short session. Creovia’s diamond painting collection is one place to compare current designs. For different visual palettes, you can also look at the Celestial Moon Cat, Pink Blossom Owl, and Pastel Hydrangea Bouquet kits. These are examples of artwork options, not required filming equipment; check each listing for current sizes and formats.
I’d choose the camera view after choosing the canvas, not the other way around. A close-up needs enough room for the tray and the working section, while a wider shot needs a stable surface and uncluttered background. A few quiet minutes of setup can save a lot of editing later.
Frequently asked questions
What equipment do I need to film diamond painting ASMR?
A phone, a stable stand, and a quiet place to record are enough to start. An external microphone is optional. Make a short test clip before buying extra gear so you know what your current setup is missing.
How can I make diamond painting sounds clearer?
Record in a space with less background noise, keep the phone microphone uncovered, and test a few microphone distances. Listen to the clip before filming a full session and change one part of the setup at a time.
Should I film diamond painting ASMR vertically or horizontally?
Choose the frame that fits where you plan to post. Vertical video can keep attention on a narrow working area, while horizontal framing can show more of the desk. Check that both the tray and canvas still fit in the picture.
Can I film diamond painting ASMR without showing my face?
Yes. An overhead or close-up view can show only the canvas, tools, and working area. If anyone else might appear or be heard in the background, get their permission before recording.
What shots should I include in a diamond painting ASMR video?
Try a wide desk view, a tray close-up, and a short sequence of drills being placed. You can record them as separate clips and keep the transitions simple.
Explore this topic
Explore related kits
Compare the current artwork and options on each product page before choosing.


Find your next project
Explore diamond painting kits.

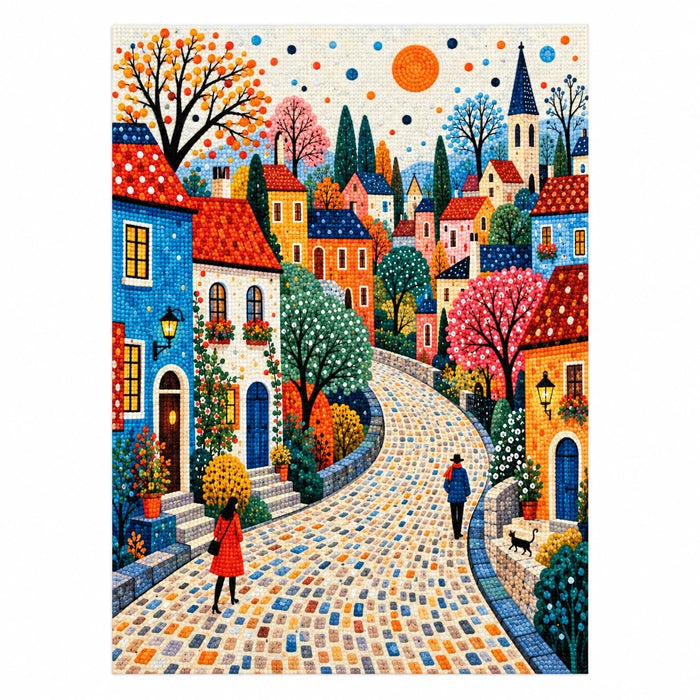
Colorful Village Street Diamond Painting Kit
$23.99

Kit de pintura de diamantes Cabaña navideña acogedora
$23.99
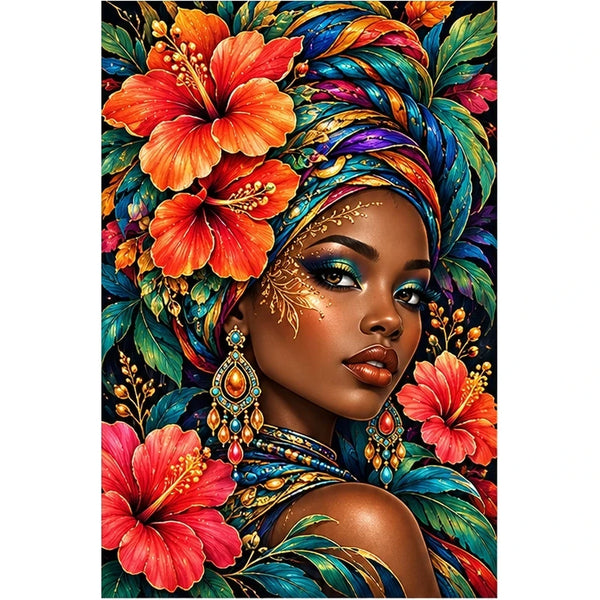
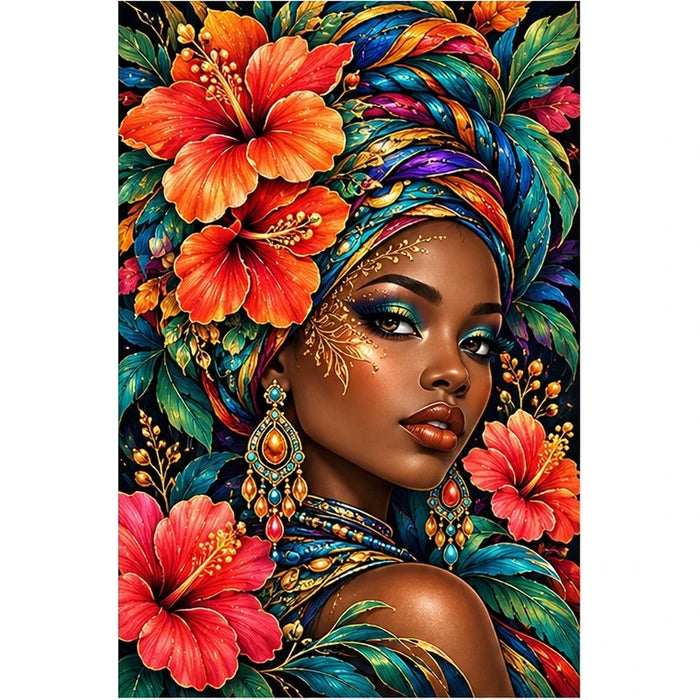
Tropical Hibiscus Queen Diamond Painting Kit
$23.99

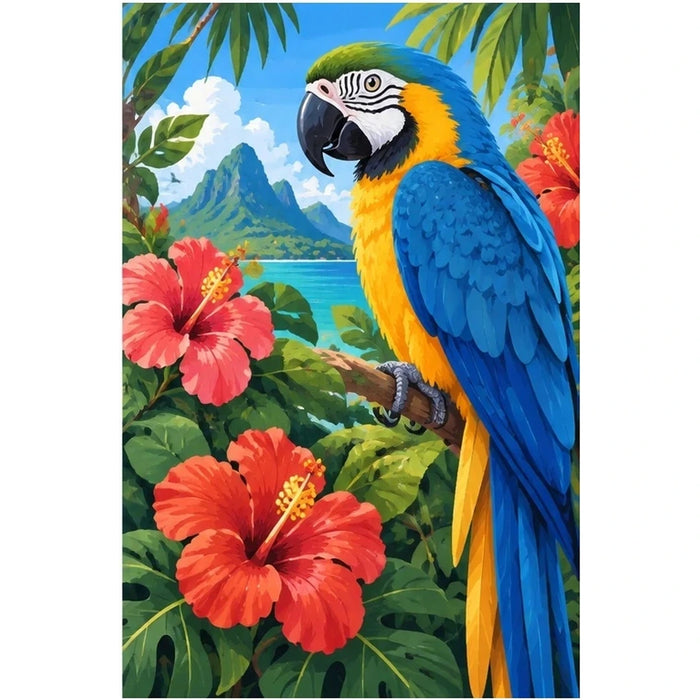
Tropical Macaw Hibiscus Diamond Painting Kit
$23.99
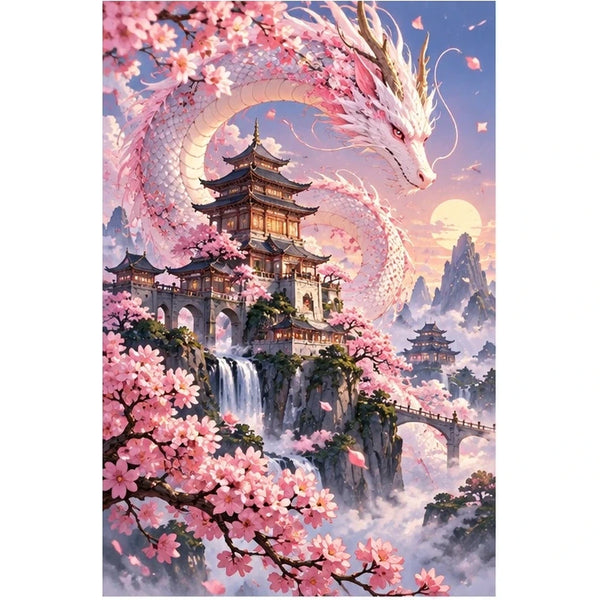
Pink Dragon Cherry Blossom Pagoda Diamond Painting Kit
$23.99
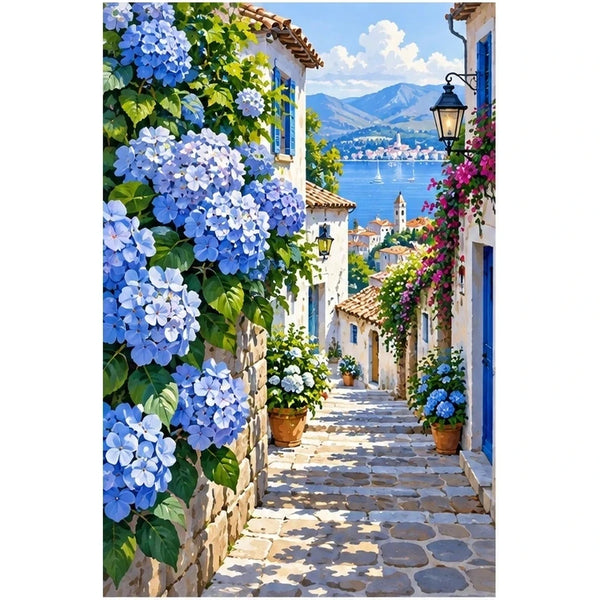
Blue Hydrangea Village Diamond Painting Kit
$23.99
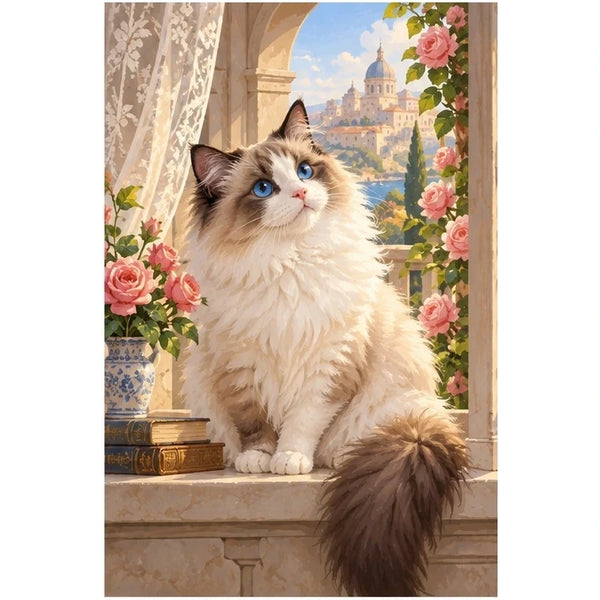
Ragdoll Cat Rose Window Diamond Painting Kit
$23.99