
Paint by Numbers Guides
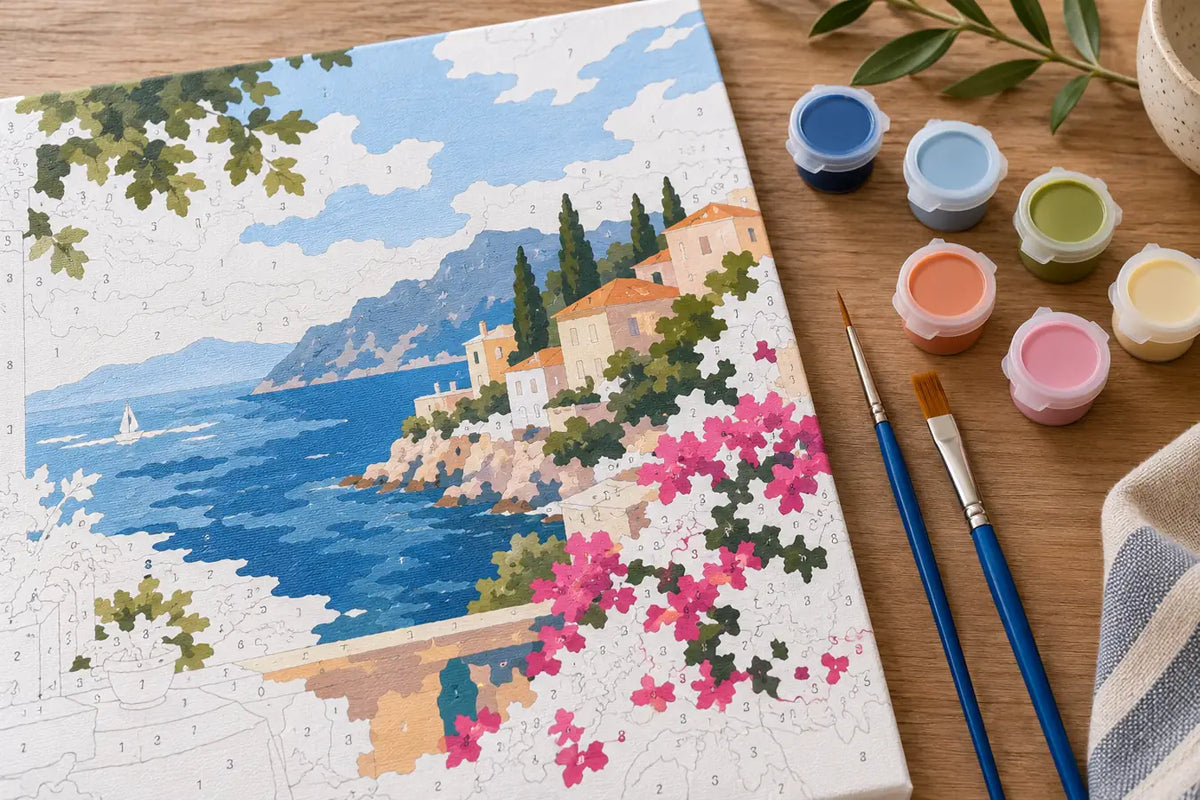
A Creovia beginner guide
Paint by Numbers Brush Tips for Small Details
Practical brush handling tips for painting small numbered shapes with better control.
Small shapes are often where paint by numbers asks for the most control. A narrow border, tiny petal, or compact patch can be hard to reach with a brush that feels too broad. The answer is not to rush or press harder. Improve the light, check the number, choose a suitable brush from the tools supplied with your kit, and work with short strokes.
Brushes and paint can differ by product, so treat this as general technique guidance. Check the selected kit’s listing and instructions for its specific tools and materials.
Brush shape can affect the mark: Winsor & Newton notes that round brush tips can help with detail work. The brushes supplied with a kit may differ, so use this as general brush guidance and check your listing.

Read the shape before choosing a brush
Look at the outline and the space inside it. A long narrow area may be easier to paint with a brush that follows its direction. A tiny enclosed patch may call for the smallest brush available in your kit. The goal is to cover the marked area without pushing paint into the neighboring one.
Check that the number matches the color key before opening a pot. Similar-looking colors or small print can be easy to confuse. If the number is difficult to read, adjust the light or angle of the canvas rather than guessing.
Use a steady setup
Place the canvas on a stable surface where you can see the printed guide. Keep the color key within view and set paint pots where they cannot tip. If your hand needs support, rest it on a clean dry part of the table or an edge that will not drag across wet paint. Avoid leaning your wrist on a freshly painted section.
Turn the canvas so the stroke feels natural when you reach a difficult boundary. You should not need to twist your wrist sharply or pull the canvas toward you. If the position feels awkward, pause and reset the work before painting.
Load less paint and make shorter strokes
Use the amount of paint recommended by the kit directions. If the brush carries an obvious blob, remove excess only in the way the instructions allow. Start with a light stroke inside the shape, then build coverage gradually if needed. A heavy first mark can cross a border and may be harder to correct.
For a curved edge, follow the curve with a few small strokes rather than one long sweep. For a narrow line, angle the brush so its tip leads along the boundary. Stop at the printed outline and check the result before moving to the next patch.

Change colors without losing your place
Keep the color key visible as you move from one area to another. Close a pot when you finish with it and return it to the same spot. Clean or change brushes between colors according to the kit directions. Before resuming, match the number and pot label again instead of relying on memory.
Try to finish one small section in a way that gives you a clear stopping point. If you need to pause, close paint containers and care for the brush as directed. Our first-session guide covers a basic setup, and the kit checklist explains why you should confirm tools on the product page. Browse current designs in the paint by numbers collection.
When a small shape is hard to read
Small printed areas can be easier to interpret when the canvas is flat and the light is even. Compare the number with the key from more than one angle. If the mark still cannot be identified, do not fill it with a nearby color just to keep moving. Leave the space until you can confirm the correct match.
Some patterns include very fine details; the screen preview is not a substitute for the printed canvas. Use the listed images and product information to understand the artwork, but follow the physical key supplied with your kit while painting.
Check the tools supplied with your design
Do not assume every paint by numbers kit contains the same brush sizes or extras. Open the live listing for the design you selected and review its stated contents and options. If a particular tool is important to you but is not mentioned, contact the store before ordering. This helps avoid building a technique around equipment that may not come with that kit.
Before filling a very small space, test the brush movement on an area recommended by the kit directions or on a separate practice surface if one is provided. This helps you see how much paint the brush carries and how the tip follows a line. Keep the stroke short, stop before the edge, and check the number again before filling any remaining gap.
Frequently asked questions
What brush should I use for small paint-by-numbers details?
Choose the smallest suitable brush supplied with your kit, if sizes are included, and check the product instructions. Brush sets vary by product.
How do I keep paint inside a small numbered shape?
Use good light, check the number first, load a controlled amount of paint, and make short strokes within the printed boundary.
Should I use a different brush for every paint color?
You can change brushes or clean the brush between colors according to the kit directions. Keep the color key visible so you can confirm each pot.
Why does my brush leave a thick mark?
Too much paint or pressure can create a heavy stroke. Wipe excess as the instructions allow and use a lighter touch on the next pass.
Are brushes included with every paint-by-numbers kit?
Included materials can vary. Check the live product listing for the selected design to see which tools are supplied.
Find your next project
Explore paint by numbers kits.

Custom Paint by Numbers Kit From Your Photo
$34.99

Coastal Village Flower Stairway Paint by Numbers Kit
$29.99

Milan Tram Corner Evening Paint by Numbers Kit
$29.99
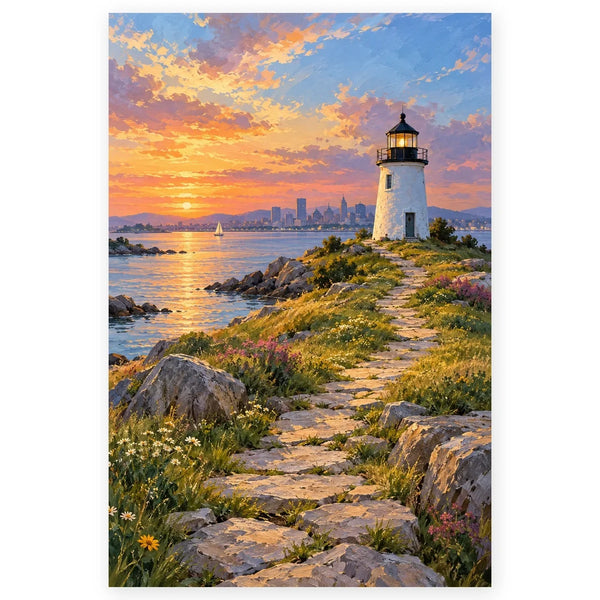
Boston Lighthouse Island Path Paint by Numbers Kit
$29.99

Copenhagen Canal Bicycle Bridge Paint by Numbers Kit
$29.99
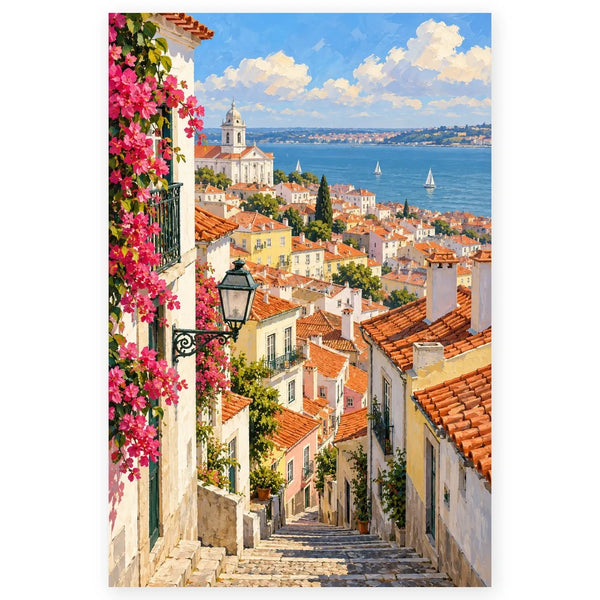
Lisbon Rooftop River View Paint by Numbers Kit
$29.99
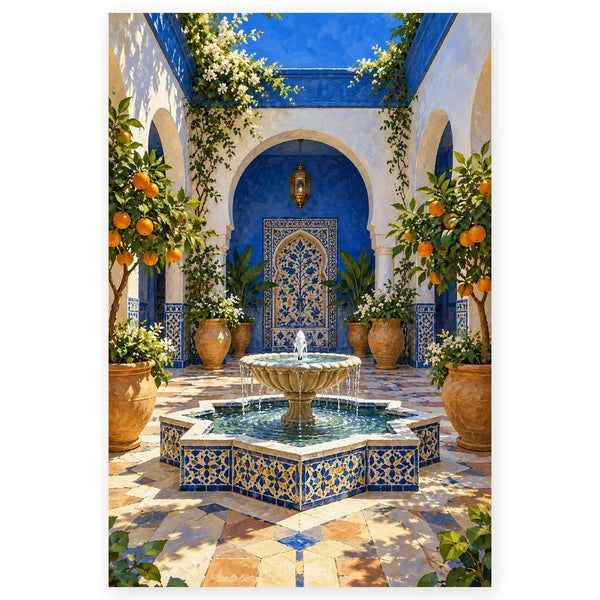
Marrakesh Blue Roof Courtyard Paint by Numbers Kit
$29.99


