Black Cat Pumpkin Moon Pearl Diamond Painting Kit hero image

Black Cat Pumpkin Moon Pearl Diamond Painting Kit

20 × 20 cm / Framed
$29.99
Passer aux informations sur le produit
Black Cat Pumpkin Moon Pearl Diamond Painting Kit hero image
39 people are viewing this right now

Black Cat Pumpkin Moon Pearl Diamond Painting Kit

★★★★★ ★★★★★ (412 Reviews)
$29.99
Size
Style
Guaranteed Safe Checkout:
Visa Mastercard American Express PayPal Apple Pay Google Pay Shop Pay

Designed for a smooth, relaxing project

  • Clear printed symbols for easy matching
  • Color-sorted pearl drills and complete tool kit
  • Choose canvas only or a ready-to-display frame

💎Buy 2 KITS SAVE $5💎 

💎Buy 3 KITS save $8💎    

💎Buy 3 Get 1 Free💎

📦 Free shipping over $65.99📦

$65.99 away from free shipping
Complete DIY KitEverything needed to begin
Pearl FinishGlossy dimensional texture
Beginner FriendlyClear printed guide
Two Display StylesCanvas only or framed

Made for mindful crafting

Enjoy a relaxing project one pearl at a time.

Complete kit

Canvas, color-matched pearls and placement tools included.

Choose your size

Available in 20, 30 and 40 cm square formats.

Free shipping $65.99+

Shipping options and delivery estimates appear at checkout.

HALLOWEEN PEARL ART

A Black Cat Beneath the Pumpkin Moon

A whimsical black cat perches on a bright pumpkin beneath a glowing moon, with bats and a deep purple night sky around it.

Place the matching round pearl beads on the printed canvas one small area at a time. This is a DIY craft kit, not a finished artwork; decorative props shown in room scenes are not included.

Black Cat Pumpkin Moon Pearl Diamond Painting Kit detail image

MADE TO CATCH THE LIGHT

A Black Cat Beneath the Pumpkin Moon

Light-catching beads bring texture to the cat, pumpkin and moonlit Halloween scene. The finished craft is a decorative display piece with a glossy, dimensional surface.

Black Cat Pumpkin Moon Pearl Diamond Painting Kit process image

Relaxing to Make

Create It One Pearl at a Time

  1. Peel back a small section of protective film
  2. Pick up the matching pearl
  3. Place it on the printed symbol

Six Simple Steps

How to Make Your Pearl Painting

Black Cat Pumpkin Moon Pearl Diamond Painting Kit tutorial image

Work on one small area at a time: prepare the kit, sort the pearls, load the applicator pen, match each printed symbol, place the pearls, and display your finished Black Cat Pumpkin Moon art.

Ready When You Are

Everything You Need Is in the Kit

Black Cat Pumpkin Moon Pearl Diamond Painting Kit kit image
Printed CanvasClear adhesive placement guide
Color-Matched PearlsSorted for this Black Cat Pumpkin Moon design
Applicator PenFor precise pearl placement
Sorting TrayLines up pearls for easy pickup
Wax & TweezersHelpful placement essentials
Resealable BagsKeeps colors organized

Choose Your Scale

Three Sizes to Choose From

Black Cat Pumpkin Moon Pearl Diamond Painting Kit size image
20 × 20 cmCompact shelves and quick projects
40 × 40 cmMaximum detail and wall presence
Black Cat Pumpkin Moon Pearl Diamond Painting Kit room image

Display It Your Way

Canvas Only or Framed

Canvas OnlyUnframed canvas for your preferred display.
FramedCanvas stretched over an inner support frame; no decorative outer frame.
Black Cat Pumpkin Moon Pearl Diamond Painting Kit style image
Framed means canvas stretched over an inner support frame. No decorative outer picture frame is included.

Images illustrate the design, crafting process and display options. This is a DIY kit, not a finished artwork. Decorative props are not included.

Pearl Art

View all
G
Creovia DIY
Grace N.

I thought the detailed areas would be my favorite, but I also enjoyed the larger blocks of color. They gave me a break between the trickier sections and made progress easier to see. Having both kinds of work kept the project balanced. I could choose an area that suited my energy that evening.

P
Creovia DIY
Patricia Cripps

Beautiful picture clear view of where to put the diamonds

S
Creovia DIY
Sabrina E.

This sunflower ocean piece has enough color movement to stay engaging through the whole project.

U
Creovia DIY
Una G.

This finished sunflower wave looks fresh and warm from afar, and the pearls reward a closer look.

T
Creovia DIY
Taylor P.

Keeping the paint lids closed between sections became a useful habit.

H
Creovia DIY
Heidi E.

I wanted a design that felt fresh and peaceful, and this rocky coastal home matched that idea well. The clear water, rocks, and a small seaside house gave me enough variety that the process never felt like one long block of the same color. The water shifts through several blue-green tones, and the rocky shoreline gives the scene a natural focal point. I like that it looks decorative without feeling overly busy.

F
Creovia DIY
Fiona J.

The stacked city scene has a strong focal point, and the layered buildings, windows, and winding streets keep the surrounding areas interesting.

S
Creovia DIY
Sadie J.

I liked the ballet artwork because it felt connected to an interest rather than just a pretty pattern. The shoes and ribbons gave me clear shapes to follow, and the softer shades kept the result gentle. I would choose this kind of image for a dance lover who enjoys making something for their own space.

K
Creovia DIY
Kayla D.

I worked on the snowy village in short sessions, starting with the colorful house fronts. The white rooftops made more sense once those brighter sections were complete. A few snowy areas felt repetitive, so I switched colors when I wanted a change. The cheerful little buildings made it easy to come back to the canvas.

R
Creovia DIY
Rosalie Y.

Twenty minutes turned into an hour. Filling those little spaces is more enjoyable than I anticipated.

R
Creovia DIY
Riley L.

The completed picture gave my shelf a little color without taking over the whole room.

G
Creovia DIY
Georgia D.

I liked having a project I could leave on the table and return to after dinner.

T
Creovia DIY
Tabitha D.

The pearls give the large roses, flowing stems, and layered petals a raised finish that works beautifully on this blue rose bouquet.

B
Creovia DIY
Brooke N.

I waited until the picture was finished before choosing a frame. A simple border turned out to work best because the surface already had plenty of texture. Seeing it on the wall changed how I viewed the project. The little sessions at the table had become something I could enjoy every day.

E
Creovia DIY
Eden R.

The lighter colors needed a little more attention than the dark ones. I could still see some numbers after my first pass, so I let those areas dry before adding another thin coat. That gave me a neater result than trying to cover everything at once. It's worth allowing time for small touch-ups near the end.

G
Creovia DIY
Georgia P.
Almost perfect

Clear print, good adhesive and a useful basic tool kit. The tray is on the small side for the larger color-block sections.

J
Creovia DIY
Jordan K.

The wave texture close-up is detailed enough to feel special but still easy to appreciate at a glance.

J
Creovia DIY
Joanna F.

The large-pearl wave feels personal and handmade, especially with the curved rows of oversized pearls and fine bead outlines in place.

B
Creovia DIY
Beth F.

The sailing ship comes alive through the tall sails, rolling water, and rope-like lines. The blue, cream, tan, and pearl white palette suits it perfectly.

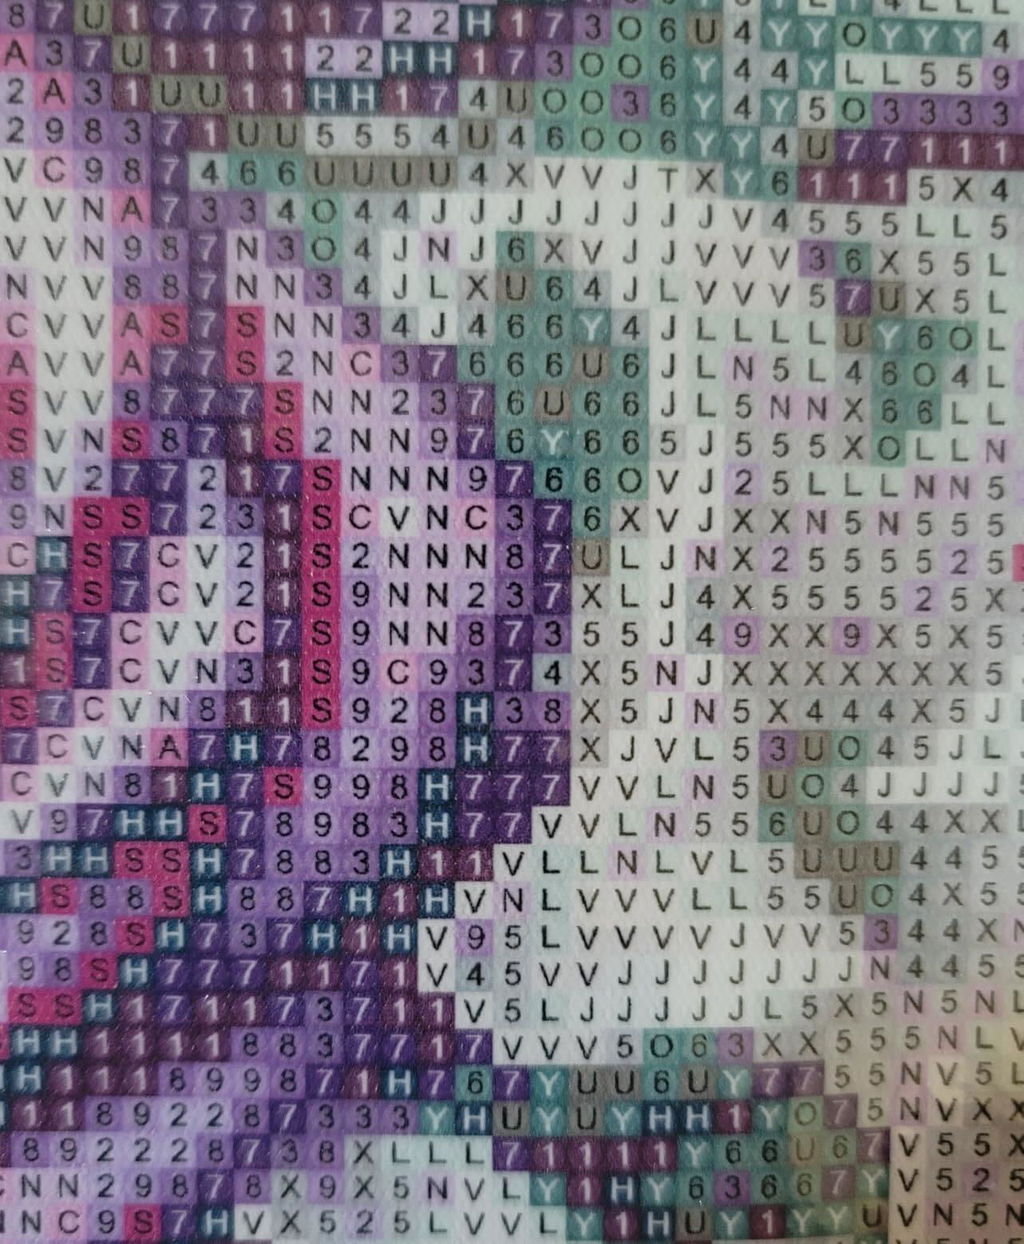
I am pleased with the outcome. I am a visual person so I attached a photo. There are A LOT of black beads, which to me was the most difficult part.

C
Creovia DIY
Casey R.

The layered blues look striking, though several shades are close enough that I had to sort and check them carefully.

E
Creovia DIY
Elise T.

The small details reward patience. I liked seeing shapes emerge that weren't obvious in the printed guide.

H
Creovia DIY
Heidi J.

The large roses, flowing stems, and layered petals kept this blue rose bouquet interesting from one section to the next.

N
Creovia DIY
Noelle G.

Some tiny numbers were hard to read under my usual lighting. A lamp helped, but those sections stayed slow.

S
Creovia DIY
Skye C.

I took a quick photo whenever I put the canvas away. The changes felt small while I was working, but looking back through the photos showed how much had appeared. That was a lovely bonus after a busy week. It gave me a record of the process as well as the finished artwork.

D
Creovia DIY
Daisy H.

The canvas looked good in a simple frame. I wanted the colors and sparkle to be the main focus.

S
Creovia DIY
Sadie K.

I waited for nearby areas to dry before resting my hand on the canvas.

M
Creovia DIY
Miriam W.

This sailing ship made a satisfying project to work on a little at a time. Working through the detail made the composition read more clearly every time I stepped back from the canvas. The sail shapes stay clear while the wave pearls add a handmade character. It has the kind of finished texture that encourages people to look more closely.

L
Creovia DIY
Laura C.
A gem of a kit

The mix of round and shaped stones made this feel different from my usual projects. Very pretty result.

D
Creovia DIY
D. Evans

One of my favorite scenes……once I was done I gifted it to a friend just moving into a new house. The canvas was easy to do and turned out great. Love doing diamond art for friends n family.

L
Creovia DIY
Lydia A.

I enjoyed how the pink, lavender, cream, and silver areas slowly revealed the shape of the winged horse.

DeliveryShipping Information+

Processing: 3–5 business days.
USA, UK, Canada, Australia: 10–21 days.
Most other countries: 15–30 days.

Delivery times are estimates. Shipping costs and available services are calculated at checkout.

Helpful Details

Frequently Asked Questions

What is a pearl diamond painting kit?

A pearl diamond painting kit is a DIY craft that uses glossy round pearl drills placed onto a pre-printed adhesive canvas. This Black Cat Pumpkin Moon kit features the artwork shown above.

Is this Black Cat Pumpkin Moon pearl painting suitable for beginners?

Yes. Match each pearl color to the printed guide and work on one small section at a time.

What comes in the Black Cat Pumpkin Moon pearl art kit?

The kit includes the printed canvas, color-matched pearl drills and placement tools. Check the product images for the illustrated kit components.

Which pearl painting size should I choose?

Choose 20 × 20 cm for compact spaces, 30 × 30 cm for a balanced display, or 40 × 40 cm for a larger artwork.

What is the difference between Canvas Only and Framed?

Canvas Only has no support frame. Framed means the canvas is stretched over an inner support frame; it does not include a decorative outer picture frame.

How do I make and care for pearl diamond painting?

Peel back a small section of film, match each pearl color to the printed symbol and press it gently into place. Keep the finished artwork dry, dust it with a soft cloth and avoid prolonged direct sunlight.

Make it yours

Ready to create your Black Cat Pumpkin Moon?

Choose your size, canvas style and quantity.

Black Cat Pumpkin Moon Pearl Diamond Painting Kit hero image

Black Cat Pumpkin Moon Pearl Diamond Painting Kit

💎Buy 2 KITS SAVE $5💎 

💎Buy 3 KITS save $8💎    

💎Buy 3 Get 1 Free💎

📦 Free shipping over $65.99📦

More Picks You Might Love