Diamond Painting Guides
A Creovia beginner guide
How to Use Diamond Painting Release Paper: A Step-by-Step Guide
Use diamond painting release paper to cover exposed adhesive, work in manageable sections, and protect an unfinished canvas between sessions.
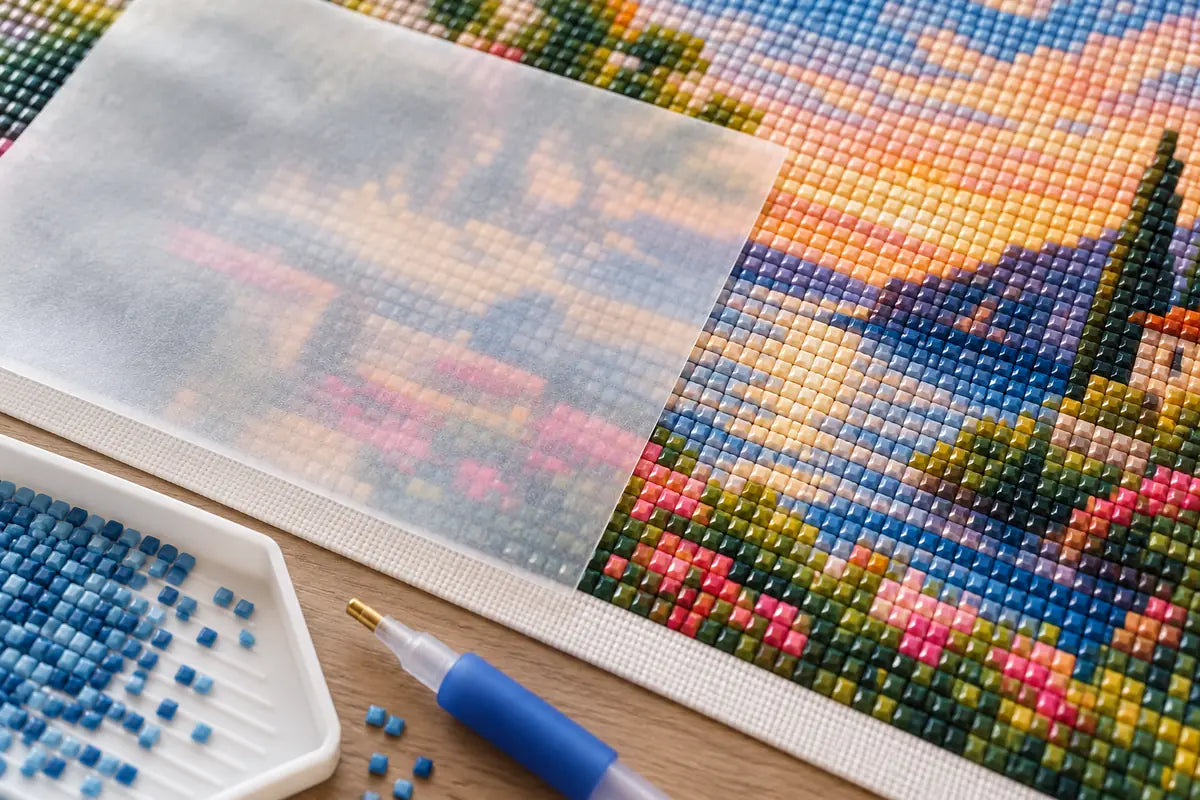
Diamond painting release paper keeps parts of an adhesive canvas covered while you work elsewhere. Place a clean sheet over exposed adhesive, lift a small area when you are ready to place drills, then cover the next section before pausing. The method helps limit dust and accidental contact, but it does not replace the canvas’s original protective film for long-term storage.

What release paper does
A diamond painting canvas has an adhesive surface that holds drills in place. The factory film protects that adhesive before the project begins. Once you remove or fold back part of the film, a loose piece of release paper can cover the area you are not using. This gives you a smaller work zone and a simple way to keep the rest of the canvas covered during a session.
Release paper is useful when the original film is awkward to fold back, when you prefer working in small blocks, or when you are returning to an unfinished section later. It is a handling aid, not a tool for making weak adhesive sticky again. If a canvas has lost tack, first check for dust, fibers, or contact with other materials rather than pressing harder or adding an unapproved adhesive.
How to use release paper on a diamond painting canvas
- Start with a clean surface. Wash and dry your hands, clear loose fibers from the work area, and place the canvas flat or on a stable support.
- Expose one small section. Peel back only enough of the original protective film to work comfortably. Keep the rest in place.
- Cover the open area. Lay release paper over exposed adhesive without dragging it across placed drills. If you are using separate squares, arrange their edges so you can lift one at a time.
- Lift one piece and work. Remove a sheet from the section you are ready to fill. Match each symbol to the chart, pick up the correct drill, and place it on the corresponding adhesive spot.
- Replace the cover before stopping. When you finish a section, put a clean release-paper piece back over unused adhesive or restore the original film if it still fits neatly.

Choose a section size you can finish
There is no required grid size. A square around the area you expect to complete in one sitting is easier to manage than exposing a large part of the canvas. Smaller sections reduce the amount of adhesive left open, while larger pieces mean fewer edges to lift. Choose based on the symbols, color changes, and time available—not on a fixed rule.
On a detailed image, a narrow working area can make it easier to follow symbol changes without losing your place. For a broad block of one color, a larger section may be comfortable. Avoid cutting or placing paper over drills that are already attached. If a sheet catches on a drill, lift it slowly from an edge rather than pulling it sideways across the canvas.
Silicone release paper versus the original protective film
The original film is sized for the full canvas and is convenient before the first session. Many painters fold back a small portion and smooth it down again when they stop. Separate silicone release-paper sheets offer more control over small sections and can be moved independently. Which option works better depends on how you organize a session; neither choice changes the printed chart or the design.
Keep the sheets clean and use them only as intended. Do not assume that baking paper, waxed paper, or an unknown craft sheet has the same coating. Materials can differ, and a substitute may stick to the adhesive or leave residue. Check the listing’s material description before choosing a product. Creovia’s 30-piece release-paper set lists 10 × 10 cm sheets, a reusable design, and six color or pattern options. Confirm the current option details on the product page before ordering.
Common mistakes to avoid
- Removing the whole film at once. Keep most of the canvas covered until you are ready to work on each area.
- Sliding a sheet over finished drills. Lift it vertically or from an open edge so it does not catch on placed pieces.
- Leaving dust on the adhesive. Cover open areas between sessions and keep drinks, lint, and loose packaging away from the canvas.
- Mixing up the color key. Keep drills labeled and return to the printed symbol chart before changing colors. The step-by-step diamond painting guide covers basic setup and symbol matching.
- Using a sheet whose coating is unknown. Do not treat every paper or liner as interchangeable. Use a material identified for release-paper use.
How to store the canvas between sessions
Before you pause, cover every exposed adhesive section. Store the canvas flat when possible, away from direct heat, dust, pets, and items that can press into the drills. Keep loose drills in their labeled bags or containers. For a longer pause, use the original film where it still lies flat and add a protective layer that will not rub across the placed drills. See our guide to storing a diamond painting between sessions for a fuller checklist.
Frequently asked questions
What is release paper used for in diamond painting?
It covers exposed adhesive on sections you are not working on, while letting you uncover a smaller area when you are ready to place drills.
Can I reuse diamond painting release paper?
A sheet sold as reusable can be lifted and repositioned if it stays clean and intact. Replace it if lint, dust, or residue collects on the surface.
Does release paper replace the protective film?
No. The original film is designed to cover the canvas before use. Release paper is a convenient way to cover smaller exposed areas during a project.
How large should each release-paper section be?
Choose a section you can comfortably finish in one sitting. Smaller areas are easier to keep covered; larger ones reduce the number of sheets you need to move.
Can I use baking paper instead?
Do not assume baking paper has the same coating as silicone release paper. Use a sheet whose intended material and purpose are clear to avoid sticking or residue.
Find your next project
Explore diamond painting kits.

Colorful Village Street Diamond Painting Kit
$23.99

Santa Hug Reindeer Diamond Painting Kit Christmas
$23.99

Tropical Hibiscus Queen Diamond Painting Kit
$23.99

Tropical Macaw Hibiscus Diamond Painting Kit
$23.99
Pink Dragon Cherry Blossom Pagoda Diamond Painting Kit
$23.99
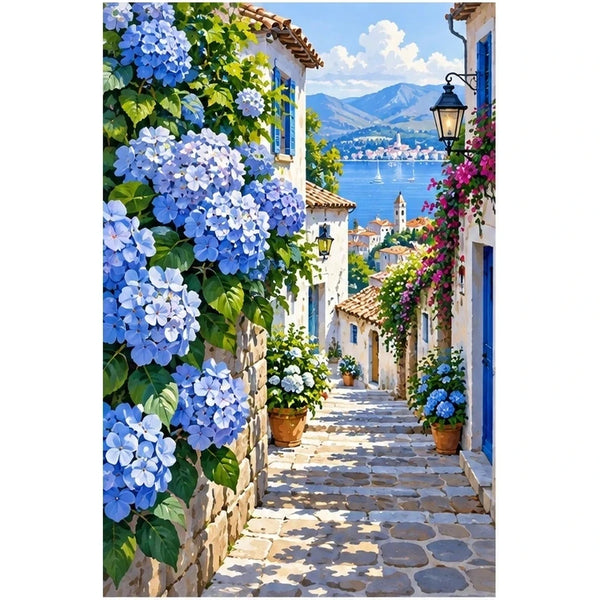
Blue Hydrangea Village Diamond Painting Kit
$23.99
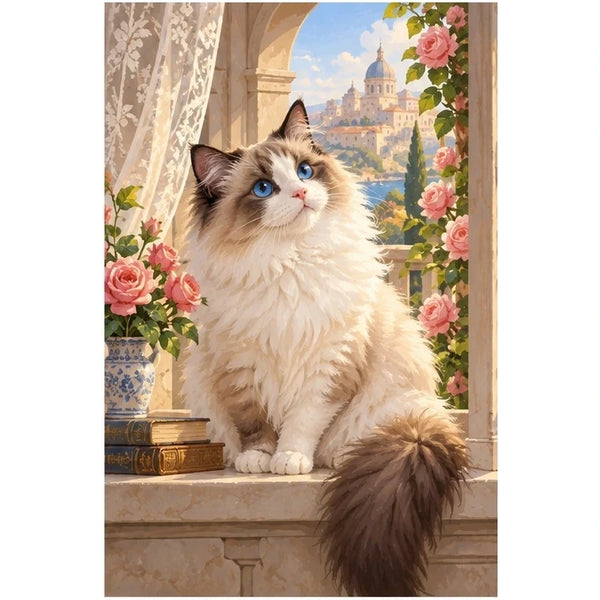
Ragdoll Cat Rose Window Diamond Painting Kit
$23.99