Diamond Painting Guides
A Creovia beginner guide
Leftover Diamond Painting Drills: What to Save and What to Make
Keep useful spare drills without saving every bag forever. Plan a small mosaic from the colors you already have, then decide what to keep or pass on.
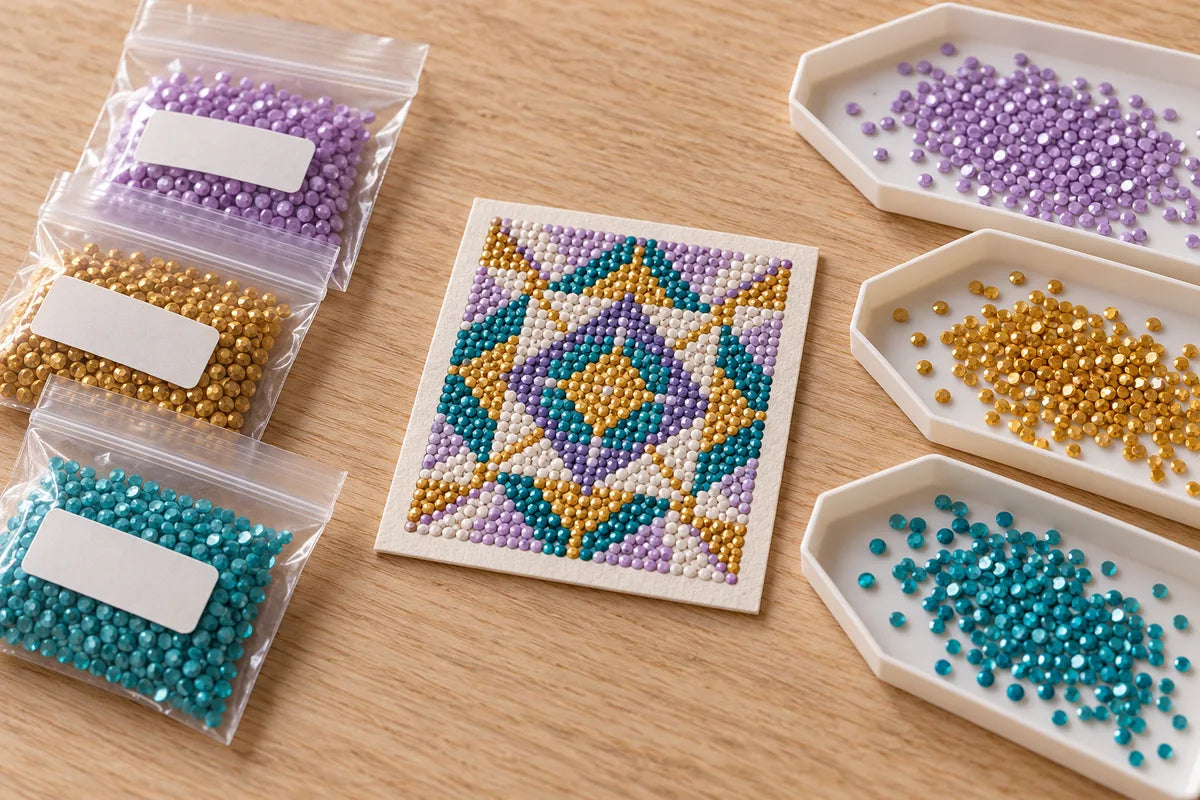
Keep a small, labeled repair reserve before using leftover diamond painting drills for another project. Then choose a simple design around the colors you actually have. A small geometric display card or mosaic panel is easier to plan from spare drills than a detailed picture that requires a precise quantity of every shade.
You do not have to turn every leftover bag into permanent storage. The useful distinction is between spares you can identify and use for repairs, and loose colors you want for a new creative project. Giving each group a purpose keeps the extras from becoming a second unfinished hobby.
Decide what the spares are for
Before emptying the last trays, check the finished canvas and keep its color key. If you still have blank cells, the project is not ready to donate its drills to something else. Finish those areas first, then keep the remaining colors separate while you decide what to save.
| What you have | A useful next step |
|---|---|
| Identified spares from a painting you are keeping or gifting | Retain a labeled reserve with the artwork's reference information. |
| Several bags of similar-looking colors from different kits | Keep their source labels; do not merge them just because the colors look close. |
| Unidentified mixed colors | Use them for a color-based decorative design where an exact kit match is unnecessary. |
| More drills than you want to use or store | Ask a local craft group or another maker whether they want them before passing them on. |
There is no universal number of spare drills to keep. Consider the size of the artwork, whether you can identify its materials later, and the storage space you are willing to give it. A small labeled packet is more useful than a large mystery bag.
Keep the repair reserve separate from the craft palette
Label the reserve with the kit or design name, drill shape, and the color identifier printed on that kit. Keep a photo or copy of the key with it. If the kit uses a temporary symbol or pot number, preserve that context rather than turning it into an assumed universal color code.
Even a shared color number is not a guarantee of an exact shade match. A specialist supplier's dye-lot guidance shows why drills from different batches or suppliers can vary. For a repair, compare shape, size, and visible shade against the original area before making a substitution.
Once the reserve is packed, move only the drills intended for new crafts to your working palette. For a geometric design, you can name the groups “light,” “dark,” and “accent” instead of trying to recover a code you no longer know. Our drill organization guide covers keeping kit references intact while you work.

Plan one small mosaic before buying more supplies
Start with three colors that are easy to tell apart. Lay out a few drills dry on a shallow tray or practice surface. Try wide bands, a simple initial, or a central diamond shape. Avoid committing most of one color to a large background until you know how much you have.
A grid can help you estimate the total. For example, a design that is 20 drills across and 20 drills down needs 400 positions filled. That is a counting example, not a recommended physical size: the finished dimensions depend on the drills and spacing you use. Count the rows assigned to each color as well as the total.
If you cannot fill the planned background, change the design before attaching anything. Make the panel smaller, widen a band in a plentiful color, or leave intentional negative space. Those choices preserve the design better than running out halfway through a tightly matched border.
Use your own simple design or a pattern you have permission to reproduce. A small abstract arrangement is enough for a first leftover-drill project. It lets you work with the available palette without promising that a few bags of spare colors can recreate a detailed photograph.
A simple three-color display card
- Choose a small, rigid craft surface suitable for the adhesive system you plan to use.
- Arrange a short row of drills without adhesive to check spacing and scale.
- Sketch the outline and broad color areas on a separate plan.
- Check that you have enough of the least plentiful color for its assigned area.
- Test the attachment method on a spare sample of the same surface, following the adhesive manufacturer's directions.
- Work in small sections, keeping unused colors separate. Allow the finished piece to set or cure as instructed before handling it.
The design can become a small shelf decoration or an embellishment on a display card. Do not assume that a successful tabletop sample is washable, weatherproof, or suitable for a frequently handled object. Those uses require materials designed and tested for the job.

Choose the attachment method for the new surface
Spare drills do not make an ordinary card or wooden blank self-adhesive. The original canvas supplied its own attachment surface. A new project needs a suitable blank or adhesive, and compatibility depends on both the drill material and the surface underneath.
Read the product directions for the adhesive or prepared craft blank rather than choosing a recipe from a picture. A small test should let you check adhesion, visible residue, and any effect on the surface before committing the design. If the supplier does not list the materials you are combining, ask before using it.
Keep loose drills away from food-preparation areas and from children or pets who might put them in their mouths. For a decorative gift, choose a display use and explain how it should be handled. Avoid presenting a homemade leftover-drill item as food-safe, child-safe, or machine-washable without evidence for the complete finished item.
Use the tools you have before expanding the setup
A tray and placement tool from your existing kit may be enough for a small project. Work with a few colors at a time and close the other containers. You do not need a full wall of storage drawers to make one extra mosaic.
If you regularly sort several colors at once, Creovia's Multi-Function Diamond Painting Drill Tray Set is one option to compare. Its listing describes modular compartments, sliding lids, and grooved surfaces for lining up round or square drills. It is a sorting aid; it does not identify unknown colors or make different batches interchangeable.
Set a limit for the extras you keep
When the small project is finished, return the repair packets to their labeled storage and review the remaining craft palette. Keep the colors you have an actual use for. If you decide to give extras away, include what you know about their source, shape, and colors, and be clear about any unidentified mixture.
Check with the recipient before sending a large bag. A craft group may welcome separated colors but have no use for an unmarked mix. For materials you cannot use or pass on, follow your local disposal guidance rather than assuming loose craft drills belong in household recycling.
The goal is a finished small project and a reserve you can find again—not another box that you feel obliged to keep forever.
Frequently asked questions
Should I keep leftover diamond painting drills after finishing a kit?
Keep a labeled reserve if you want spares for that artwork, especially before gifting it. Retain the design name, drill shape, and original color key. Use or pass on the remainder according to your space and plans.
Can I combine leftover drills with the same color number?
Keep source batches separate when you need a reliable repair match. Drills with the same color number can vary in shade. For an original decorative design, combine colors only after checking that their appearance and size suit your plan.
What can I make with a small amount of leftover diamond painting drills?
Try a small geometric display card or mosaic panel using broad bands, a simple initial, or a central motif. Plan around your available colors and count the positions before attaching the drills.
What glue should I use for leftover diamond painting drills?
Choose an adhesive or prepared craft blank whose instructions support both your drills and the new surface. Test a small sample and follow the manufacturer's application and curing directions; there is no one glue recommendation for every material.
Do I need to buy a new diamond painting storage system for extras?
No. Labeled bags and the tray you already own may be enough. Additional sorting trays are useful when they solve a specific working-space problem, but they are not required to make a small leftover-drill project.
Find your next project
Explore diamond painting kits.

Colorful Village Street Diamond Painting Kit
$23.99

Santa Hug Reindeer Diamond Painting Kit Christmas
$23.99

Tropical Hibiscus Queen Diamond Painting Kit
$23.99

Tropical Macaw Hibiscus Diamond Painting Kit
$23.99
Pink Dragon Cherry Blossom Pagoda Diamond Painting Kit
$23.99
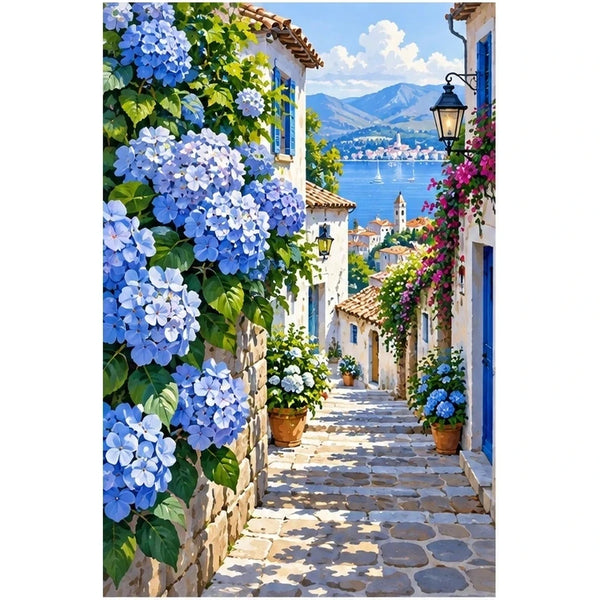
Blue Hydrangea Village Diamond Painting Kit
$23.99
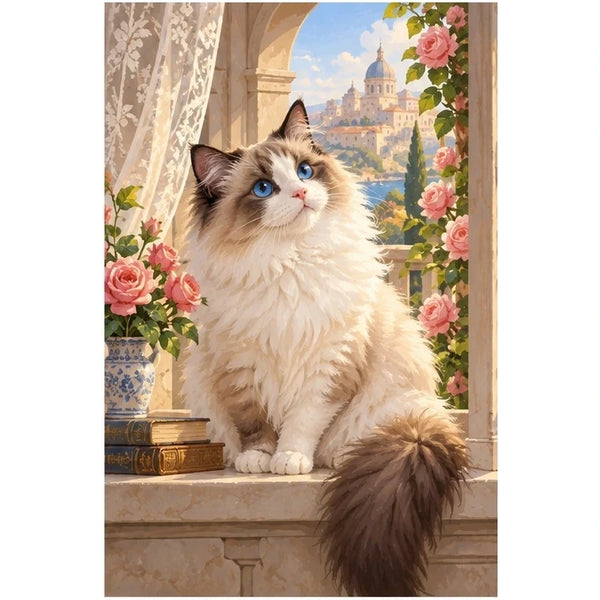
Ragdoll Cat Rose Window Diamond Painting Kit
$23.99