Diamond Painting Guides

A Creovia beginner guide
How Long Does Diamond Painting Take? Plan Your Own Project
A practical way to estimate your own diamond painting time using the design, two trial sections, and a realistic session plan.
How long a diamond painting takes depends on the canvas you choose and the way you work. A small design with large same-color areas can move differently from one packed with tiny color changes, even before breaks, setup, and corrections enter the picture. There is no honest fixed-hour promise for every kit. Before buying, compare size, coverage, and detail; after opening the kit, time two different small sections and use those results to plan the rest.
Separate placing time from calendar time
“How long will this take?” can mean hours actively placing drills or the days between opening the kit and finishing it. Keep those measures separate. A person who works for short periods on two evenings a week may finish on a different date from someone who enjoys a longer weekend session, even if their active placing time is similar. Setting out the tray, matching packets to the chart, tidying up, and returning after a break also take attention.
If the project is a gift, start with the date you need it, then work backward. Leave room for a missed session and for checking the finished canvas. A calendar deadline is not a reason to assume a tool, drill shape, or larger effort will automatically make a detailed design quick. If the goal is simply an enjoyable project, choose a session length you can repeat comfortably rather than racing a guessed total.
Read the artwork before using size as a shortcut
Canvas dimensions tell you how much physical space the project occupies, but not how often you will change colors. Open the full artwork and look for broad color areas, tight outlines, letters, small flowers, foliage, or other details. Then check the product page to see whether the marked area covers all or only part of the canvas. A partially worked design and a fully marked design can ask for very different amounts of placement at the same outside dimensions.
The Blossom Bookshop Diamond Painting Kit offers a concrete example. Its pink storefront has relatively broad wall sections, while flower boxes, books, windows, and the blue doors contain more small shapes and color changes. That difference is visible in the product artwork; it does not tell us exactly how many minutes anyone will spend on those parts. Use it to see why a single canvas measurement is not enough.

Actual Blossom Bookshop product artwork. The broad pink areas and smaller floral and book details create different kinds of work within one design.
Before purchase, you can compare the listed options and decide how much detail you want in your working space. The same product currently offers 20 × 30, 30 × 40, and 40 × 50 cm canvases, plus round or square drills and framed or no-frame styles. All twelve combinations were available when checked for this guide; confirm the selected variant on the live product page. The diamond painting size guide focuses on workspace and display dimensions. This article focuses on planning the work itself.

Creovia's Blossom Bookshop size graphic shows the three currently listed canvas dimensions; it is a size comparison, not a time chart.
After opening the kit, time two different sections
Choose one manageable area with a broad run of color and another with more symbol changes. In Blossom Bookshop, that might mean comparing part of a pink wall with part of a flower box or book window. Keep the work areas similar enough in size that the results are useful, but do not mark the adhesive canvas or remove more protective film than you can work comfortably.
- Prepare normally. Set up the chart, correct packets, tray, and pen as you would for an ordinary session. Count setup separately if you want a placing-only estimate.
- Time the first area. Record the minutes spent actively checking symbols and placing drills. Note interruptions separately rather than folding them into your placing pace.
- Time the second area. Use a section with more color changes or finer details. Record the active minutes and which step slowed you down.
- Keep both results. Do not average away the difference. The remainder of the artwork is likely to contain both easier runs and slower detail work.
A trial section is a personal planning tool, not a standardized test of the kit. Someone learning to use the pen may get faster after a few sessions. Someone who enjoys precise alignment may choose a slower pace throughout. Those are normal differences, not mistakes in the estimate.
Build a flexible range for the remaining canvas
Look at the unworked artwork and roughly sort it into sections like the two you timed: broader color areas and denser details. A paper sketch or a photo with a simple section plan can help; keep marks off the adhesive and printed symbols. Multiply the number of comparable sections by your own observed pace for each type, then add the time you expect for setup, packet changes, and a final check. Keep the result as a range because the sections will not match perfectly.
Update the range after a few sessions. If the middle of the design has more confetti-like color changes than the edges, your first estimate may be optimistic. If repeated color blocks let you settle into a rhythm, your later sessions may be faster. Our color blocking versus confetti guide explains how those two patterns change the workflow. It does not assign an hour count to either one.
Do not convert a product's outside dimensions directly into a fixed number of hours. Square centimeters do not reveal the number of marked spaces, the intricacy of the chart, or how often you stop to recheck a color. A rough estimate based on your own two kinds of sections is more useful than a universal rate copied from a different canvas.
Keep drills, tools, and pauses in perspective
Round and square drills are different placement choices, but neither guarantees a faster finish for every person. Alignment, tool familiarity, and the particular design matter. A multi-placer can be convenient on suitable same-color runs, if it is available and compatible with your kit, but it cannot eliminate symbol checks in a detailed area. Do not buy a variant or promise a gift date on the assumption that a different tip will halve the project time.
Breaks are part of the calendar plan. If you stop between sessions, cover unused adhesive according to your kit's directions and keep packets tied to their codes. That makes the next session easier to restart and avoids spending time reconstructing a lost color match. The between-session storage guide covers the canvas and drill packets in more detail.
If two people plan to work together, decide who handles each area and how the color key will be shared. Two sets of hands do not automatically cut the time in half; coordinating one canvas also takes attention. Write down the agreed sections before starting so each person knows where to return in the next session.
Choose the project you will actually want to finish
For a first project or a firm gift date, compare the full artwork and the available sizes, then choose a format that fits your table and schedule. The Blossom Bookshop product page shows its current size, drill, and frame selections; the diamond painting collection lets you compare other subjects. A picture you want to return to is more useful than a supposedly “fast” kit whose details or display size do not suit you.
Once you begin, time a broad patch and a detailed patch, update the plan after a few sessions, and let the estimate reflect your actual pace. That gives you an answer to “how long does diamond painting take?” that belongs to your canvas and your calendar.
Diamond painting time FAQ
How many hours does a diamond painting take?
There is no dependable hour count for every kit. Size, marked coverage, small details, color changes, your tools, and your own pace all matter. Time one or two representative sections on your own canvas for a useful estimate.
Does a larger diamond painting always take longer?
A larger version usually has more canvas area to complete, but dimensions alone cannot predict the total. Compare the marked coverage and detailed regions as well as the size, then allow for setup and color changes.
Are square drills slower than round drills?
Neither drill shape gives a reliable universal finish-time advantage. Alignment habits, the design, tools, and your own experience change the pace. Choose the drill option you want to place and test a small section.
Can a multi-placer cut my diamond painting time in half?
Do not plan around that promise. A multi-placer may help on suitable runs of the same color, but detailed sections still require careful symbol checks. Use only a tool compatible with your kit and judge its benefit from your own trial section.
Can I finish a diamond painting in one weekend?
It depends on the selected design, size, coverage, detail, and the time you can actually spend at the table. Before promising a weekend finish, compare the current product options and, if possible, time a representative section.
Explore this topic
A kit to explore
Compare the current artwork and options on each product page before choosing.

Blossom Bookshop Diamond Painting Kit
$23.99
Step into a pastel bookshop blooming with roses. This charming diamond painting kit combines books, flowers, and soft pink storefront details for a relaxing creative project and a cheerful finished...
Find your next project
Explore diamond painting kits.

Colorful Village Street Diamond Painting Kit
$23.99

Santa Hug Reindeer Diamond Painting Kit Christmas
$23.99
Tropical Hibiscus Queen Diamond Painting Kit
$23.99

Tropical Macaw Hibiscus Diamond Painting Kit
$23.99
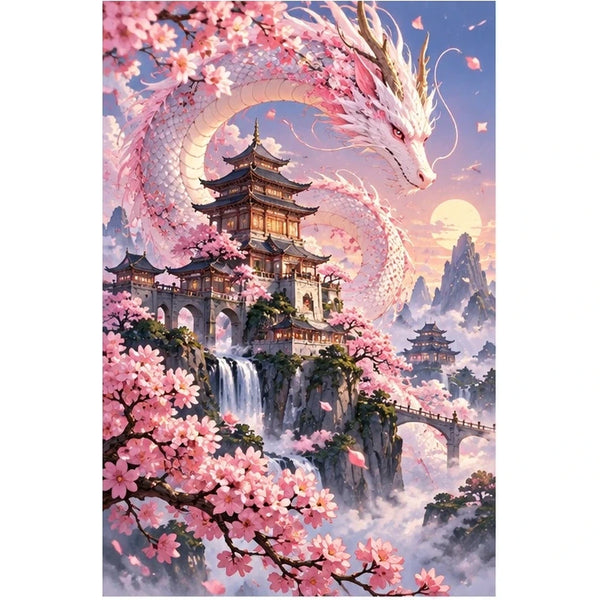
Pink Dragon Cherry Blossom Pagoda Diamond Painting Kit
$23.99
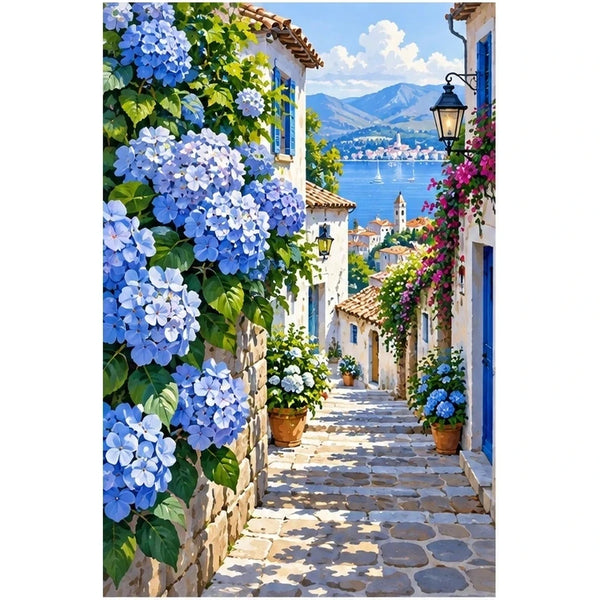
Blue Hydrangea Village Diamond Painting Kit
$23.99
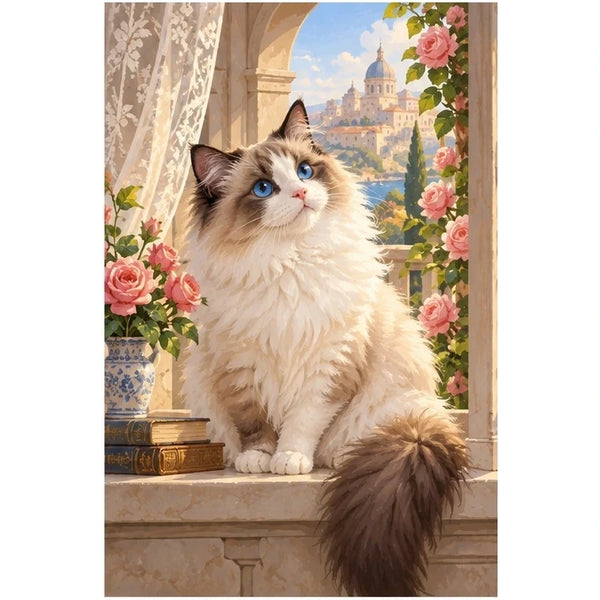
Ragdoll Cat Rose Window Diamond Painting Kit
$23.99