
Diamond Painting Guides

A Creovia beginner guide
How to Do Diamond Painting: A Beginner’s Step-by-Step Guide
Follow a clear beginner diamond painting tutorial: prepare your canvas, match drill colors, place drills, and finish the image in small sections.
To do diamond painting, match a drill color to the printed symbol, pick up a drill with the placement tool, and press it onto the corresponding adhesive square. Repeat in small sections until the image is complete. This is the basic method behind searches for “how to do diamond art,” “how to do diamond painting,” and “diamond art how to.”
Start with a clean, level surface and check the kit’s instructions. Tools and canvas finishes can differ, so use the directions included with your selected product when they specify a different method.
1. Prepare your diamond painting workspace
Place the canvas on a flat table with good lighting. Set out the color key, drills, tray, and placement tool. Keep drinks and loose items away from the adhesive canvas. Unroll or flatten the canvas only as its instructions recommend.
Lift the protective film just enough to expose one manageable area. Keeping the remaining canvas covered helps protect the adhesive from dust and fibers.
2. Find and organize the matching drills
Read the symbol printed on the exposed section, then find that symbol on the color key. The key identifies the matching drill color and may include a code. Pour a small amount of that color into the tray. Gently shake the tray so the drills settle with their flat sides down, which makes them easier to pick up.

3. Pick up and place each drill
If your kit uses a wax-based pen, press its tip lightly into the included wax or adhesive pickup material. Some tools use a different pickup method, so follow the kit instructions. Touch the pen to the rounded side of a drill, place the drill on its matching symbol, and press gently.
Work through one color in the exposed area, or change colors whenever that feels easier. If a drill lands slightly out of line, nudge it into position while the adhesive is accessible. Avoid pressing hard enough to shift neighboring drills.
4. Complete the canvas in small sections
Continue matching symbols and colors across the exposed section. When it is filled, cover it again if you are pausing, then uncover the next area. This section-by-section approach keeps the work surface tidy and limits how much adhesive is exposed at once.
Take breaks when you need them. Keep each color bag or container labeled so drills do not get mixed. If a symbol is hard to read, compare it with the chart in good light before placing a color.
5. Check and finish your diamond art
When the image is complete, compare the canvas with its color key and fill any missed symbols. Follow the product’s instructions for pressing, storing, or displaying the finished canvas. Framing and finishing options depend on the canvas and the frame choices offered with the kit.
Ready to choose a design? Explore the Diamond Painting collection or see the Single Pink Peony Diamond Painting Kit for current size and finish options.
Common beginner mistakes to avoid
- Peeling away the full protective film before you are ready.
- Choosing a drill color before checking its symbol against the key.
- Pouring too many drills into the tray at once.
- Leaving drills and tools unlabelled between sessions.
- Assuming every kit uses the same pen, pickup material, or finishing method.
If you want the background and terminology first, read What Is Diamond Painting? A Beginner’s Guide to Diamond Art.
What to do when drills do not line up
Pause and check that you are placing each drill on the symbol that matches its color. If a drill is slightly crooked, use the placement tool or a clean straight edge to nudge it gently into position. Work a short row or small patch at a time rather than trying to straighten a large area after it is complete. The goal is steady alignment, not force; pressing too hard can move neighboring drills.
If the chart is hard to read, compare the printed symbol with the key under brighter light. Similar-looking marks can be easier to distinguish when the canvas is flat and the light is even. Do not guess at a color if the symbol is unclear: confirm it first, then continue with that color.

How to pause and store an unfinished canvas
When you finish a session, cover the exposed adhesive area according to the kit instructions. Keep the canvas flat or store it in the way recommended for that product. Close and label each drill color so packets do not mix. Keep the pen, tray, chart, and any pickup material together; small tools are easier to find when they stay with the kit.
When you return, uncover only the section you plan to work on and check the chart before selecting a drill color. These habits help protect the canvas and make it easier to resume without retracing your steps.
Choosing a beginner diamond painting kit
Look at the finished dimensions and choose a size that suits the time and table space you have. Review the artwork at full size: detailed designs can include more small color areas, while broader shapes may be easier to follow as you learn the symbol system. Check whether the listing offers different drill shapes or canvas finishes, and read the description for the tools supplied with that specific option.
There is no single best diamond art kit for every beginner. The right first project is one whose image you like, whose size fits your workspace, and whose instructions and listed materials are clear. Browse the Diamond Painting collection and compare the product details before selecting a design.
Keep the process simple
A diamond art how-to guide can be reduced to three habits: match the symbol before choosing a color, expose only the area you are ready to complete, and keep drills organized when you take a break. You can change colors whenever it is convenient, as long as the canvas and remaining drills stay easy to identify.
For a quick overview of the materials and terminology, visit What Is Diamond Painting? A Beginner’s Guide to Diamond Art. When you are ready to choose a project, the Single Pink Peony kit page shows the current product options and details.

Frequently asked questions
How do you do diamond painting step by step?
Set up the canvas, match a symbol to its drill color, place drills with the applicator, and work through the image in small sections. Check the kit instructions because tools and finishes can vary.
What tool picks up diamond painting drills?
Many kits use a placement pen with wax or another pickup material. Use the method supplied with your specific kit.
Should I remove all the protective film at once?
It is easier to expose one manageable section at a time. This helps keep the remaining adhesive covered and clean.
How do I finish a diamond painting project?
Check for missed symbols and follow the product instructions for pressing, storing, or displaying the canvas. Framing and finishing options depend on the selected product.
Find your next project
Choose a design you’ll love bringing to life.

Colorful Village Street Diamond Painting Kit
$23.99
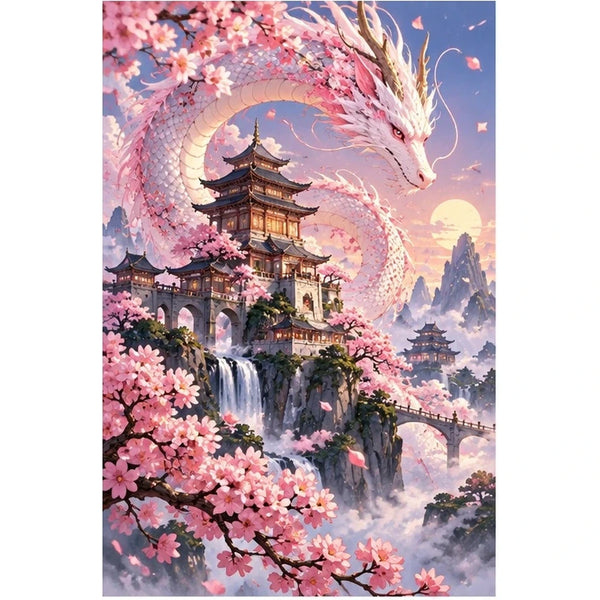
Pink Dragon Cherry Blossom Pagoda Diamond Painting Kit
$23.99

Colorful Rose Bouquet Diamond Painting Kit
$23.99
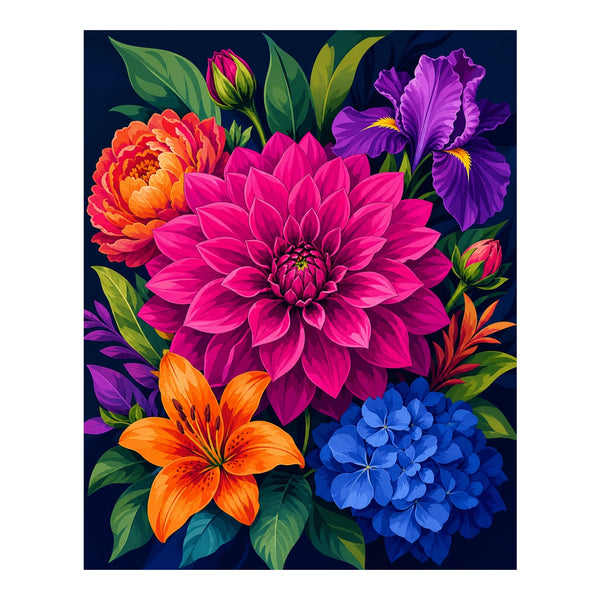
Vibrant Garden Bloom Diamond Painting Kit
$23.99
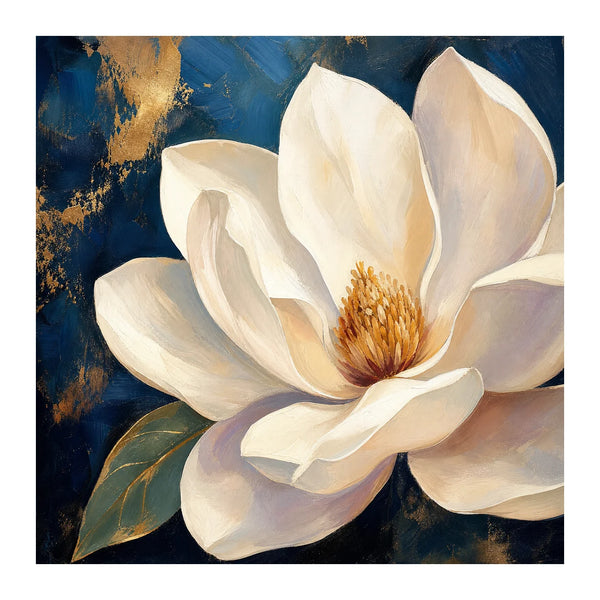
Ivory Blossom On Midnight Diamond Painting Kit
$25.99
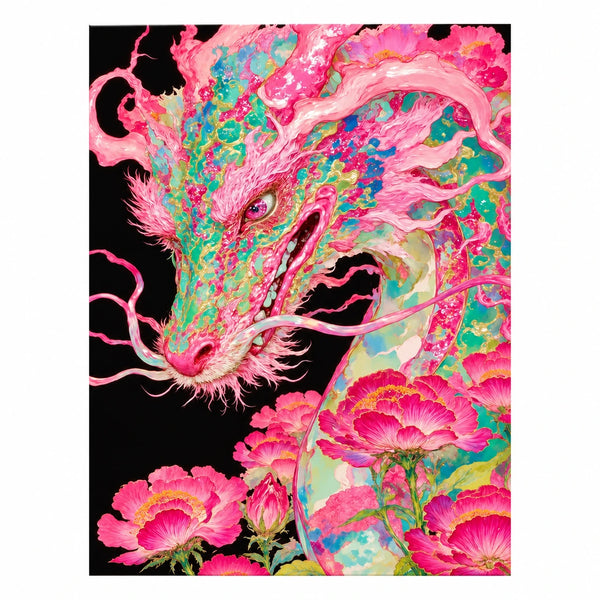
Pink Dragon Among Peonies on a Black Background Diamond Painting Kit
$23.99
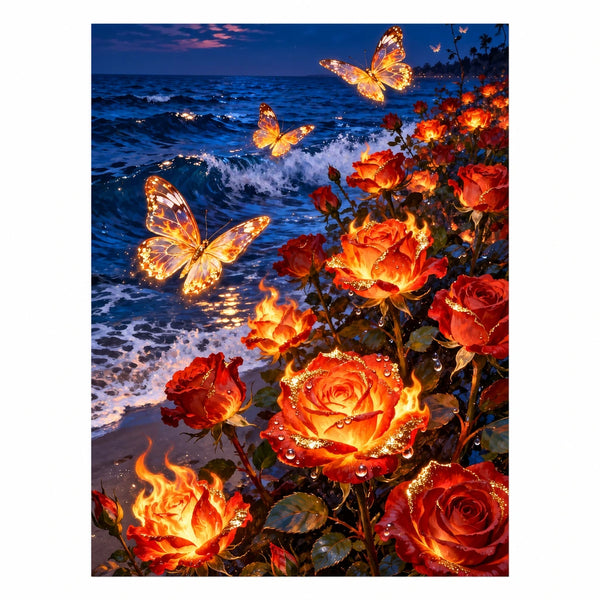
Luminous Butterflies and Fiery Roses Diamond Painting Kit
$23.99
