Pearl Art Guides

A Creovia beginner guide
How to Follow Water Reflections in Pearl Art
To work water reflections in pearl art, read the marked positions in the water independently from the objects above it. Reflections can be shortene...
Follow the reflected shapes already on the chart
To work water reflections in pearl art, read the marked positions in the water independently from the objects above it. Reflections can be shortened, broken or stylized. Copying a bridge or sky directly downward can replace the intended artwork with a new pattern.
Find where the water starts
Moonlit Wisteria Bridge places a bridge over a lake. On your canvas, identify the boundary between the structure, shoreline and reflected shapes before placing a run of pale beads.

Work a small section with its key visible. Keep colors labeled when you switch: neighboring light areas do not necessarily share the same symbol. Preserve the darker positions between bright marks.
Treat reflected sky as its own area
Northern Lights Lake uses green aurora ribbons and a moon above a winter lake and evergreen forest. Locate the reflected light within the water, then follow the separate assignments there.

The finished product image helps you see the larger arrangement. Use the supplied chart to determine the actual colors and positions. Avoid counting exact working cells from a decorative product thumbnail.
Check a short run before continuing
After placing a few positions, compare them with both the symbols and the surrounding darker area. If a line appears shifted, identify the misplaced position before filling another row. Work with controlled pressure and the kit’s placement tool; do not force additional beads into a gap.
Keep unworked adhesive covered while you pause to inspect. Return loose beads to their labeled containers before opening another color. The pearl-art starting guide can help with that routine.
Step back periodically to see the water as part of the whole landscape. A broken light pattern may read as a reflection at ordinary viewing distance even though its individual bead positions are separate close up. Follow that pattern rather than filling every dark break.
View the current product details for Moonlit Wisteria Bridge Pearl Diamond Painting and Northern Lights Lake Pearl Diamond Painting. Read our related pearl art kit guide for the practical details.
Frequently asked questions
Should I mirror the bridge into the water myself?
No. Follow the reflected shapes on the supplied chart, which may differ from the object above the water.
Do all light reflection marks use one pearl bead color?
Only where the key assigns that color. Check each symbol rather than grouping every pale mark together.
Why should I preserve dark gaps in the reflection?
Those assigned areas help separate the light shapes. Filling them with extra bright beads changes the design.
How do I inspect a reflection that seems misaligned?
Compare a short completed area with its printed symbols and surrounding positions, then correct an identified misplaced bead.
Explore this topic
Explore related kits
Compare the current artwork and options on each product page before choosing.


Find your next project
Explore pearl art kits.
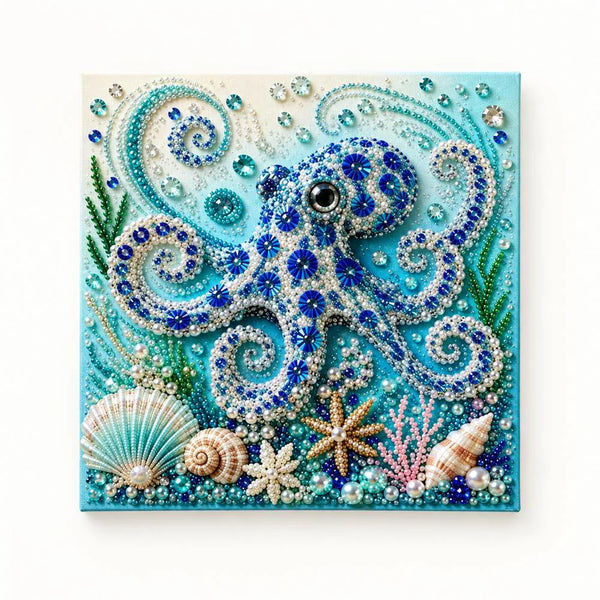
Ocean Octopus Pearl Diamond Painting Kit
$24.99
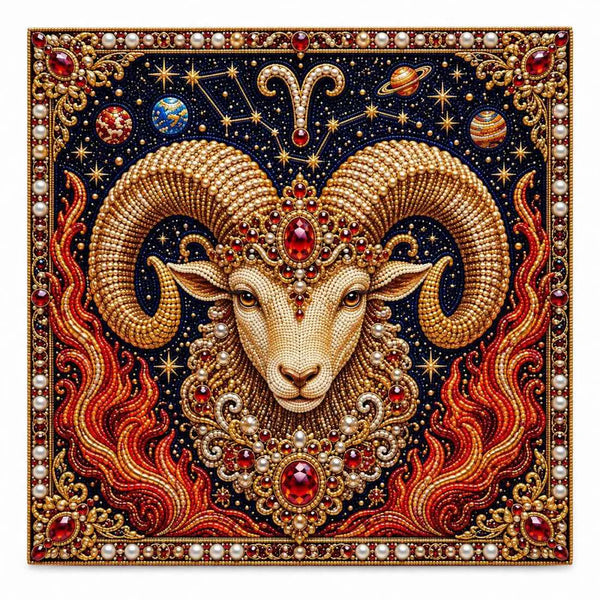
Aries Ram Pearl Diamond Painting Kit
$24.99

Aquarius Water Bearer Pearl Diamond Painting Kit
$24.99

Snowy Church Christmas Night Pearl Diamond Painting Kit
$24.99
Lavender Daisy Vase Pearl Diamond Painting Kit
$24.99

Christmas Cottage Pearl Diamond Painting Kit
$24.99

Aurora Christmas Reindeer Pearl Diamond Painting Kit
$24.99