Diamond Painting Guides
A Creovia beginner guide
How to Light a Diamond Painting Canvas Without Glare
Use lamp placement and steady room light to make diamond painting symbols easier to read without adding glare.
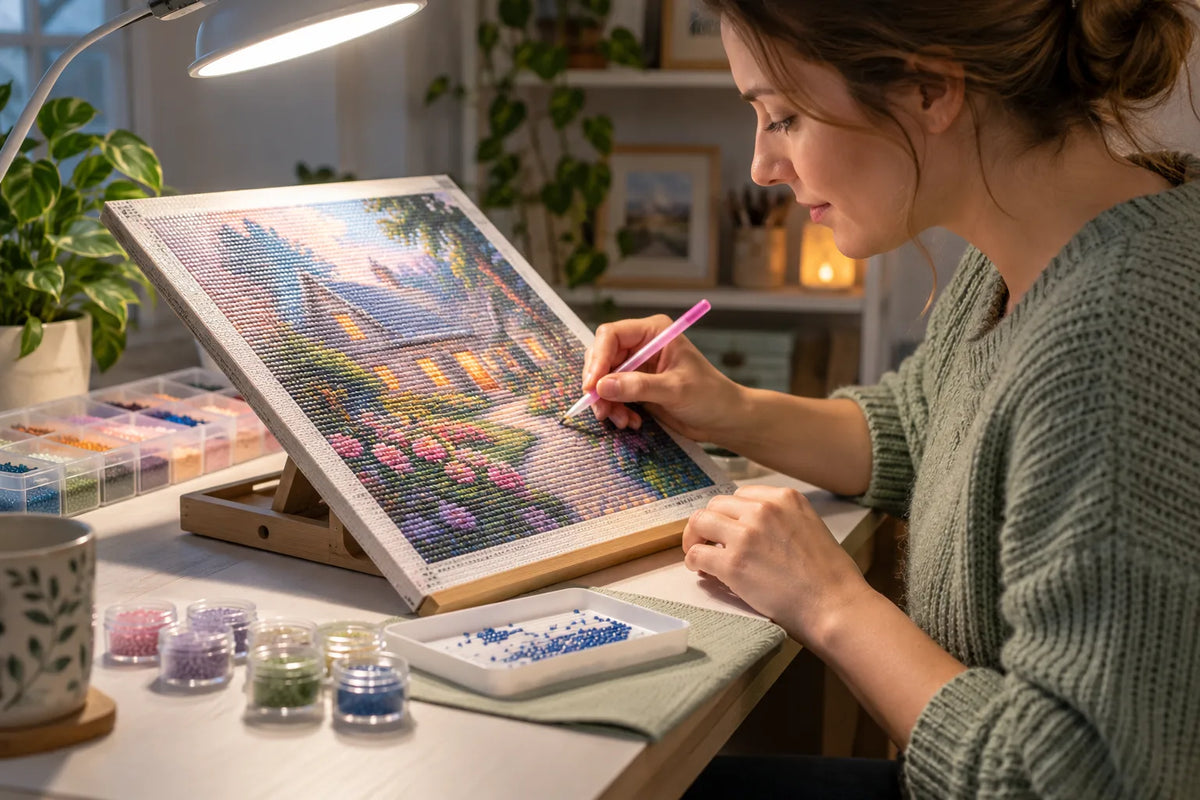
A diamond painting chart can be difficult to read when a lamp reflects off the adhesive film or glossy drills. The fix is usually a change in light direction, not simply a brighter bulb. Move the light source to the side, keep it out of the canvas reflection, and test the setup on a small area before settling in.
This guide covers practical lighting for a diamond painting canvas, including overhead lamps, daylight, adjustable task lights, and dark symbol areas. It focuses on seeing the printed chart clearly without changing the canvas or assuming that a special lamp is required.
Why diamond painting glare happens
The clear protective film and finished resin drills can reflect a nearby lamp. When the light source appears in the same direction as your view, a bright patch may hide symbols or make neighboring colors harder to distinguish. Glossy surfaces are not unique to diamond art, but the small printed symbols make the reflection more noticeable while you work.
A lamp that is too close can create a concentrated hotspot. A ceiling light directly above the canvas may also reflect toward your eyes depending on the angle of the table and your seat. If you are leaning over the work, even a well-lit room can leave a shadow across one corner while another area shines.
\n
Set up light for a diamond painting canvas
Place the lamp to one side
Start with a desk or task lamp positioned to the left or right of the canvas rather than directly behind your head. If the bright reflection remains visible, shift the lamp farther to the side or slightly higher. The best position depends on your table, chair, and whether you are right- or left-handed. Keep the lamp outside the path of your hand and diamond painting pen so the tool does not cast a moving shadow over the symbol you are trying to match.

Turn the canvas a few degrees and check the film from your normal working position. A small rotation can move a reflection away from the active section. Avoid bending or sharply creasing the canvas to change its angle; use a stable board or easel if you need a different working position.
Use even room light with a task light
A small lamp can brighten one patch while leaving the rest of the canvas dim. Combine it with comfortable room lighting so the contrast between the work area and the surrounding room is not extreme. You do not need to flood the entire surface with direct light. Look for a broad, steady pool of light that lets the printed key, symbol chart, tray, and color containers remain visible.
Daylight can be useful, but its intensity and direction change during the day. If the canvas is near a window, watch for a moving stripe of sun or a window reflection on the protective film. Do not leave drills or tools where a breeze can scatter them, and move the canvas if direct sun makes the surface uncomfortably hot.
Test brightness and color before continuing
Adjust the lamp while looking at both the symbols and the drills. A bright white light may make the printed symbols clear but can change how some colors appear to you. A warmer light may feel softer while making similar shades less distinct. There is no single color temperature that works for every person, canvas, or room; compare the symbol key and the actual drill colors under the light you plan to use.
If a patch still looks washed out, reduce the brightness or move the lamp instead of staring through the glare. A matte diffuser or shaded lamp can soften a concentrated beam, provided it does not cover the lamp in a way that traps heat. Follow the lamp maker’s safety instructions.
Make symbols easier to read without changing the kit
Work in a small section and lift only as much protective film as the kit instructions allow. The visible edge of the film can catch light, so keeping the loose sheet folded back and away from the active area may reduce reflections. Do not remove the full covering just to improve visibility; the exposed adhesive can collect lint or lose tack.
Keep the color key close to the canvas and compare the printed symbol, not just the apparent color. Similar shades can look different under a lamp, and a symbol is the more reliable guide. If two symbols remain hard to tell apart, shift the light or change your viewing angle, then check the legend again before placing a run of drills.
For a detailed design, a magnifier can help some crafters read small symbols, but it is optional. Choose a stable magnifier that does not cast a strong reflection onto the film. A light pad beneath a canvas may brighten printed areas, but compatibility varies with canvas backing and adhesive. Do not force a light pad under a mounted or framed canvas; check the product instructions first.

Choose a workable setup for your project
Canvas size, symbol density, and where you sit all affect the setup. Before beginning a long session, place the tray, color containers, and pen where the lamp will not cast a shadow across them. Keep cords clear of the work surface. If you are comparing a new design, review its image and available dimensions in the diamond painting collection and check the individual listing for its current options. The Pink Blossom Owl Diamond Painting Kit is one example of an available design; its listing is the source for current product details.
Take a short pause after the first section and reassess. The light that feels right at the start may become distracting after the lamp heats up or the room darkens. If the symbols are readable, the drills remain organized, and you can place the pen accurately without a bright reflection, the setup is doing its job. Continue at a pace that feels comfortable and follow the tool and canvas instructions supplied with your particular kit.
When to change the setup
Move the lamp if a white hotspot travels across the symbols as you shift your head. Add ambient room light if the desk is much brighter than the rest of the room. Raise or move the task light when your hand repeatedly shades the section. If the colors look unlike the printed key, compare them under another neutral room light before deciding that a drill color is wrong.
Lighting is personal and the room matters. A clear setup does not need expensive equipment: a steady table, a lamp placed outside the reflection line, readable symbols, and a small active section are often enough. For a broader overview of materials and first-session setup, read our step-by-step diamond painting guide.
Find your next project
Explore diamond painting kits.

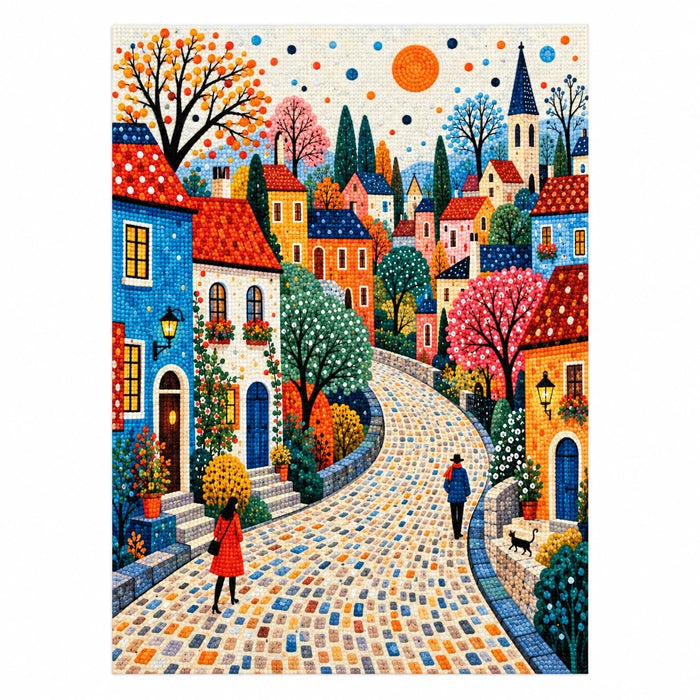
Colorful Village Street Diamond Painting Kit
$23.99

Santa Hug Reindeer Diamond Painting Kit Christmas
$23.99

Tropical Hibiscus Queen Diamond Painting Kit
$23.99

Tropical Macaw Hibiscus Diamond Painting Kit
$23.99
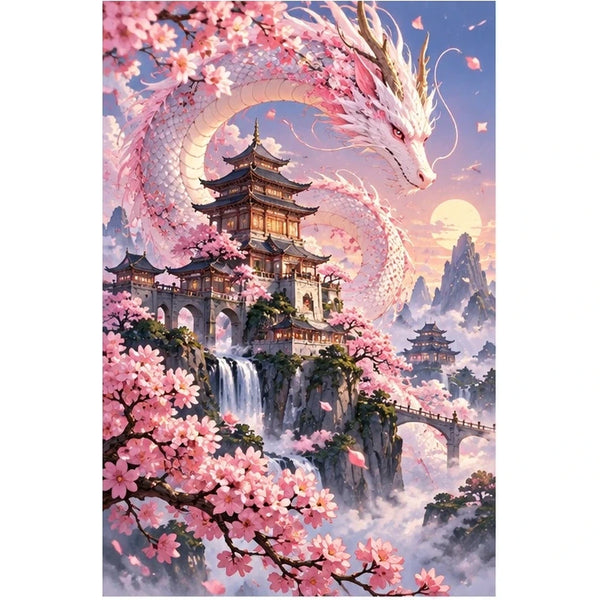
Pink Dragon Cherry Blossom Pagoda Diamond Painting Kit
$23.99

Blue Hydrangea Village Diamond Painting Kit
$23.99
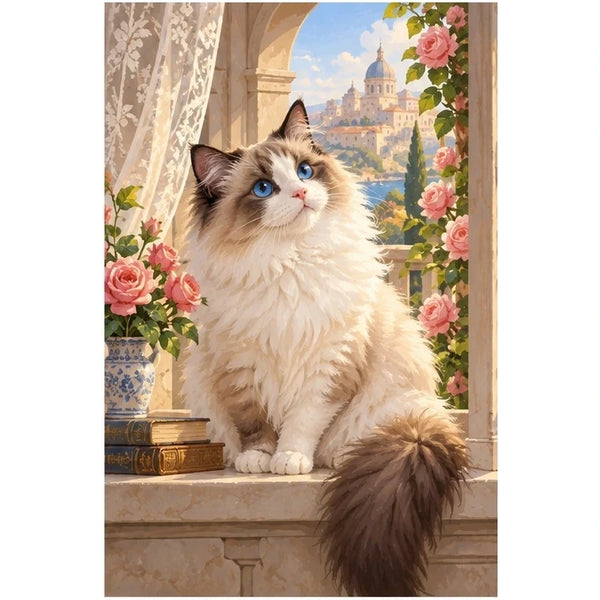
Ragdoll Cat Rose Window Diamond Painting Kit
$23.99