Upload your photo and create a custom Creovia paint by numbers kit

Custom Paint by Numbers Kit From Your Photo

30 × 40 cm / 24 Colors / No Frame
$34.99
Hoppa till produktinformation
Upload your photo and create a custom Creovia paint by numbers kit

Custom Paint by Numbers Kit From Your Photo

$34.99
Fraktkostnad beräknas i kassan.
Guaranteed Safe Checkout:
Visa Mastercard American Express PayPal Apple Pay Google Pay Shop Pay
Details

Turn a favorite photo into a personalized paint by numbers kit—and enjoy creating a keepsake that is uniquely yours.

  • Upload your own pet, family, couple, portrait, or travel photo
  • Choose from 24, 36, or 48 colors
  • Select No Frame, DIY Frame, or Framed
  • Includes a numbered canvas, pre-mixed acrylic paints, and artist brushes

For the best result: choose a bright, clear photo with the main subject close to the camera. Larger canvases and higher color counts preserve more detail.

Your automatic preview is a guide to composition and color placement. Fine details and colors may vary slightly when your photo is translated into paint-by-numbers artwork.

Materials + Care

We prioritize quality in selecting the materials for our items, choosing premium fabrics and finishings that ensure durability, comfort, and timeless appeal.

Shipping + Returns

We strive to process and ship all orders in a timely manner, working diligently to ensure that your items are on their way to you as soon as possible.

G
Creovia DIY
Grace N.

I thought the detailed areas would be my favorite, but I also enjoyed the larger blocks of color. They gave me a break between the trickier sections and made progress easier to see. Having both kinds of work kept the project balanced. I could choose an area that suited my energy that evening.

P
Creovia DIY
Patricia Cripps

Beautiful picture clear view of where to put the diamonds

S
Creovia DIY
Sabrina E.

This sunflower ocean piece has enough color movement to stay engaging through the whole project.

U
Creovia DIY
Una G.

This finished sunflower wave looks fresh and warm from afar, and the pearls reward a closer look.

T
Creovia DIY
Taylor P.

Keeping the paint lids closed between sections became a useful habit.

H
Creovia DIY
Heidi E.

I wanted a design that felt fresh and peaceful, and this rocky coastal home matched that idea well. The clear water, rocks, and a small seaside house gave me enough variety that the process never felt like one long block of the same color. The water shifts through several blue-green tones, and the rocky shoreline gives the scene a natural focal point. I like that it looks decorative without feeling overly busy.

F
Creovia DIY
Fiona J.

The stacked city scene has a strong focal point, and the layered buildings, windows, and winding streets keep the surrounding areas interesting.

S
Creovia DIY
Sadie J.

I liked the ballet artwork because it felt connected to an interest rather than just a pretty pattern. The shoes and ribbons gave me clear shapes to follow, and the softer shades kept the result gentle. I would choose this kind of image for a dance lover who enjoys making something for their own space.

K
Creovia DIY
Kayla D.

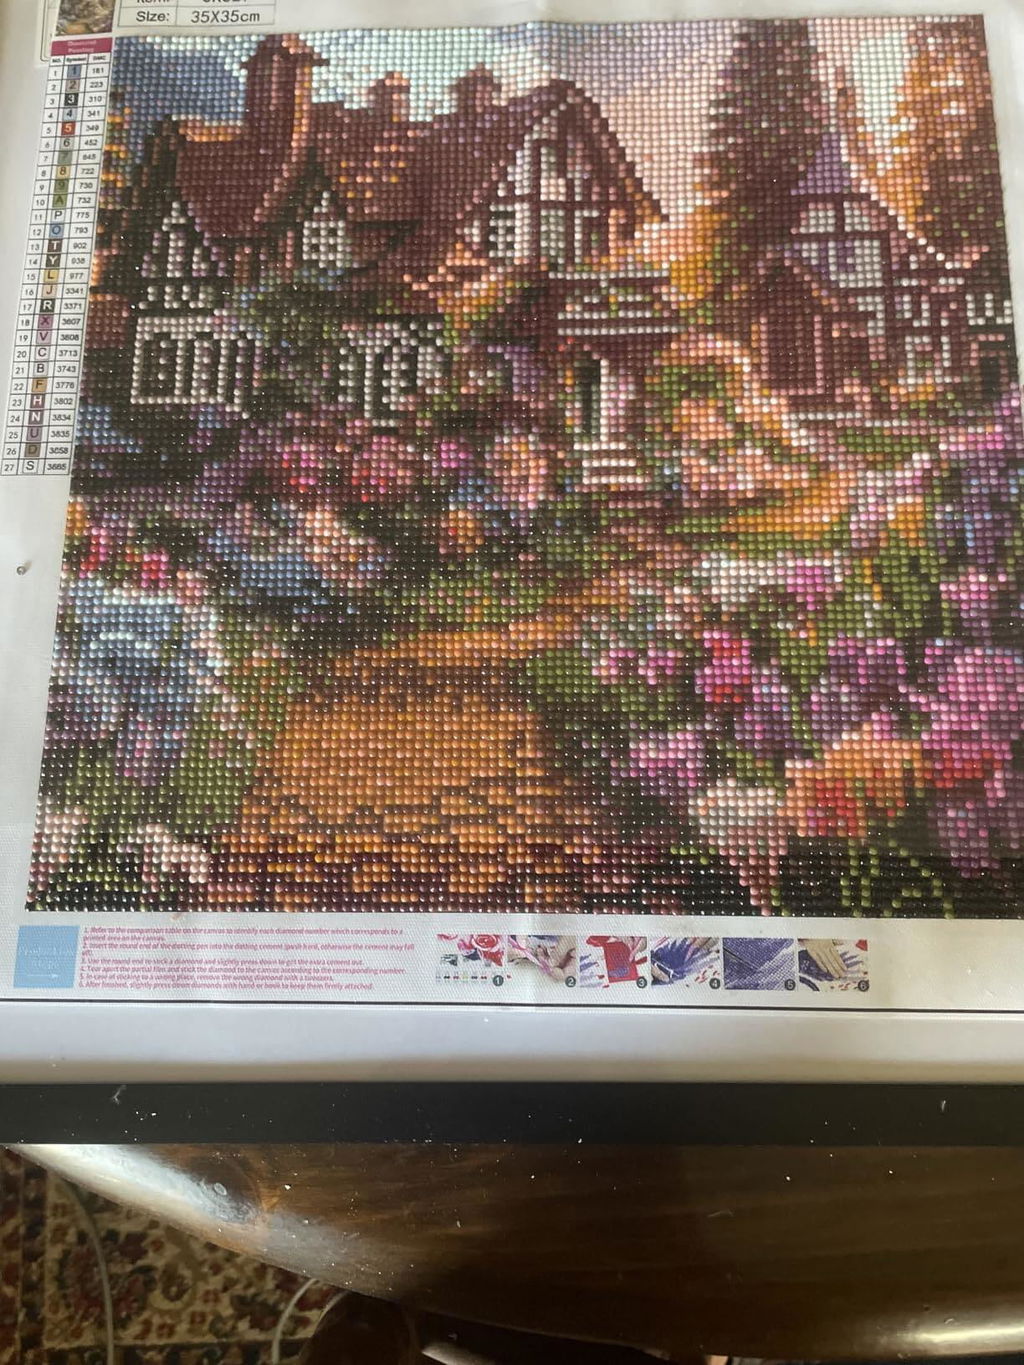
I worked on the snowy village in short sessions, starting with the colorful house fronts. The white rooftops made more sense once those brighter sections were complete. A few snowy areas felt repetitive, so I switched colors when I wanted a change. The cheerful little buildings made it easy to come back to the canvas.

R
Creovia DIY
Rosalie Y.

Twenty minutes turned into an hour. Filling those little spaces is more enjoyable than I anticipated.

R
Creovia DIY
Riley L.

The completed picture gave my shelf a little color without taking over the whole room.

G
Creovia DIY
Georgia D.

I liked having a project I could leave on the table and return to after dinner.

T
Creovia DIY
Tabitha D.

The pearls give the large roses, flowing stems, and layered petals a raised finish that works beautifully on this blue rose bouquet.

B
Creovia DIY
Brooke N.

I waited until the picture was finished before choosing a frame. A simple border turned out to work best because the surface already had plenty of texture. Seeing it on the wall changed how I viewed the project. The little sessions at the table had become something I could enjoy every day.

E
Creovia DIY
Eden R.

The lighter colors needed a little more attention than the dark ones. I could still see some numbers after my first pass, so I let those areas dry before adding another thin coat. That gave me a neater result than trying to cover everything at once. It's worth allowing time for small touch-ups near the end.

G
Creovia DIY
Georgia P.
Almost perfect

Clear print, good adhesive and a useful basic tool kit. The tray is on the small side for the larger color-block sections.

J
Creovia DIY
Jordan K.

The wave texture close-up is detailed enough to feel special but still easy to appreciate at a glance.

J
Creovia DIY
Joanna F.

The large-pearl wave feels personal and handmade, especially with the curved rows of oversized pearls and fine bead outlines in place.

B
Creovia DIY
Beth F.

The sailing ship comes alive through the tall sails, rolling water, and rope-like lines. The blue, cream, tan, and pearl white palette suits it perfectly.

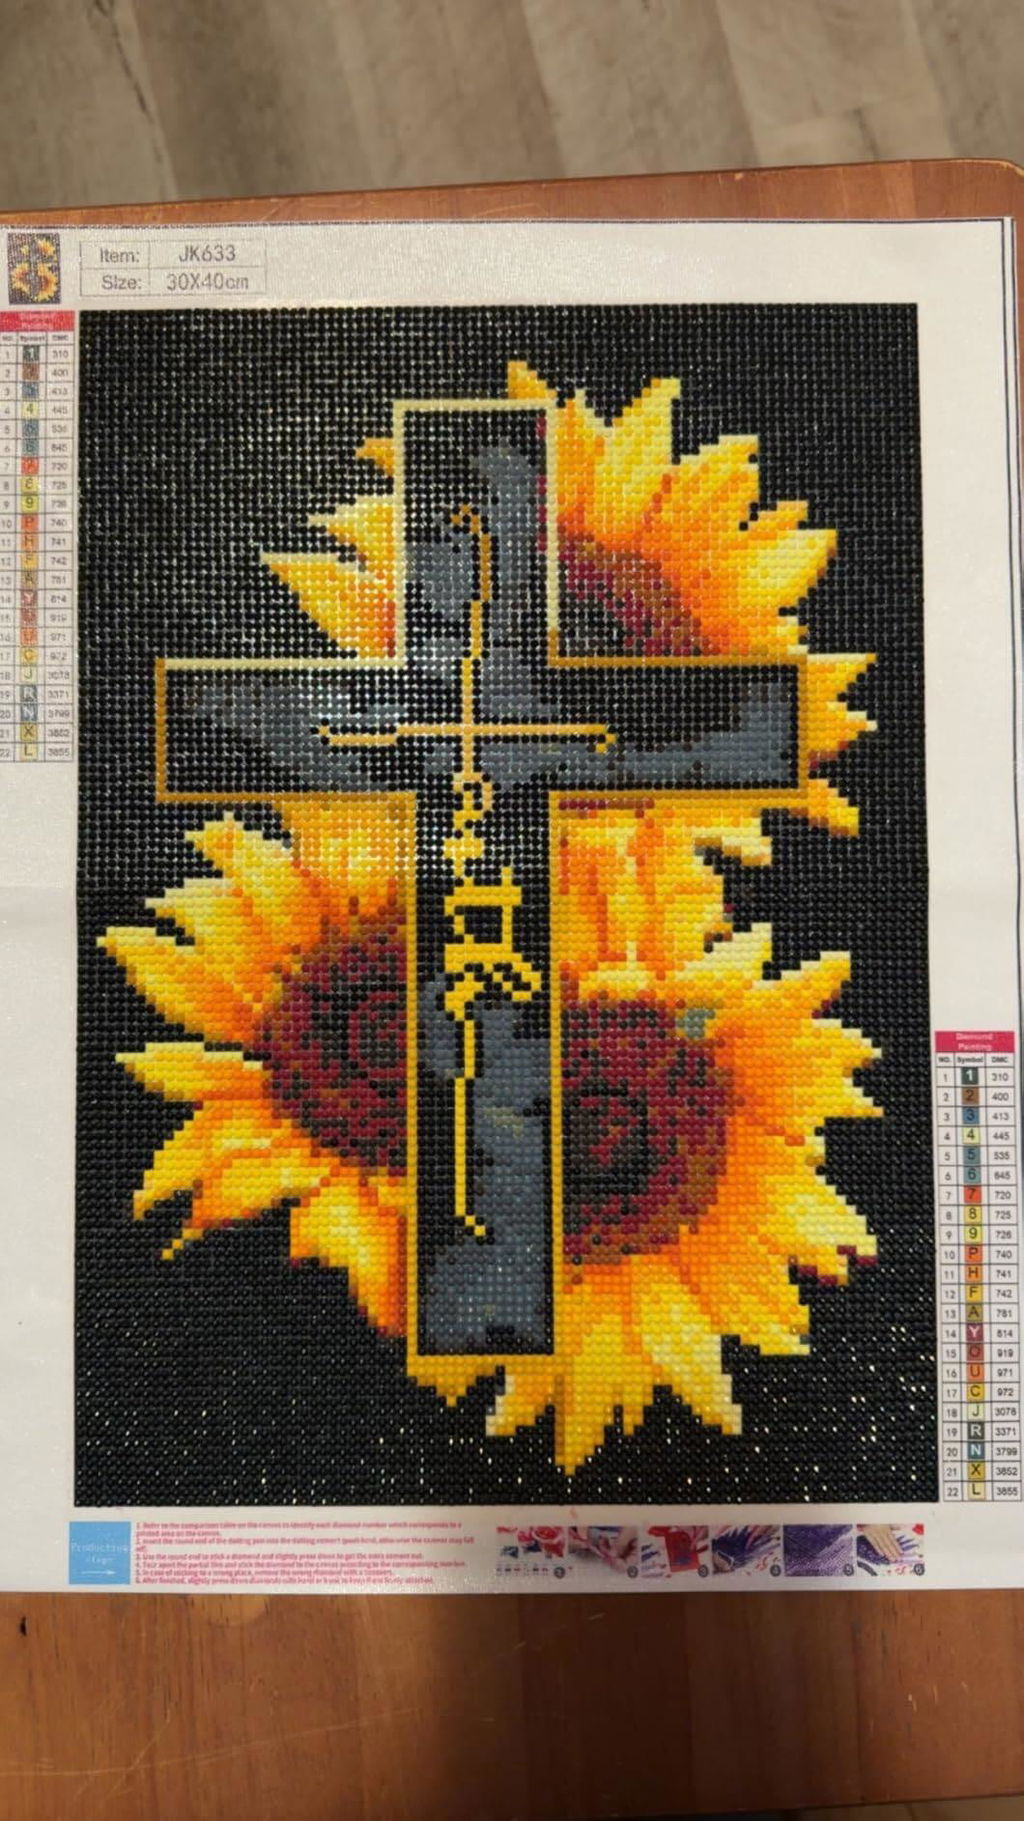
I am pleased with the outcome. I am a visual person so I attached a photo. There are A LOT of black beads, which to me was the most difficult part.

C
Creovia DIY
Casey R.

The layered blues look striking, though several shades are close enough that I had to sort and check them carefully.

E
Creovia DIY
Elise T.

The small details reward patience. I liked seeing shapes emerge that weren't obvious in the printed guide.

H
Creovia DIY
Heidi J.

The large roses, flowing stems, and layered petals kept this blue rose bouquet interesting from one section to the next.

N
Creovia DIY
Noelle G.

Some tiny numbers were hard to read under my usual lighting. A lamp helped, but those sections stayed slow.

S
Creovia DIY
Skye C.

I took a quick photo whenever I put the canvas away. The changes felt small while I was working, but looking back through the photos showed how much had appeared. That was a lovely bonus after a busy week. It gave me a record of the process as well as the finished artwork.

D
Creovia DIY
Daisy H.

The canvas looked good in a simple frame. I wanted the colors and sparkle to be the main focus.

S
Creovia DIY
Sadie K.

I waited for nearby areas to dry before resting my hand on the canvas.

M
Creovia DIY
Miriam W.

This sailing ship made a satisfying project to work on a little at a time. Working through the detail made the composition read more clearly every time I stepped back from the canvas. The sail shapes stay clear while the wave pearls add a handmade character. It has the kind of finished texture that encourages people to look more closely.

L
Creovia DIY
Laura C.
A gem of a kit

The mix of round and shaped stones made this feel different from my usual projects. Very pretty result.

D
Creovia DIY
D. Evans

One of my favorite scenes……once I was done I gifted it to a friend just moving into a new house. The canvas was easy to do and turned out great. Love doing diamond art for friends n family.

L
Creovia DIY
Lydia A.

I enjoyed how the pink, lavender, cream, and silver areas slowly revealed the shape of the winged horse.

You might also like...