Diamond Painting Guides
A Creovia beginner guide
Single vs. Multi-Placer Diamond Painting Pen Tips: Which Should You Use?
Compare single-placer and multi-placer diamond painting pen tips and learn when each makes canvas placement easier to control.
Choosing between a single-placer and a multi-placer diamond painting pen is less about speed than about the section in front of you. A fine tip lets you pick up and place one drill at a time. A multi-placer holds several drills in a row, which can be useful on a broad patch of the same color. Most people can use both; the practical question is when each tip makes the work easier to control.

What is the difference between the two pen tips?
A single-placer has one point of contact, so you position one drill for each pickup. That makes it easier to work around isolated symbols, narrow outlines, and small color changes. It also gives you a simple way to correct a placement before moving on.
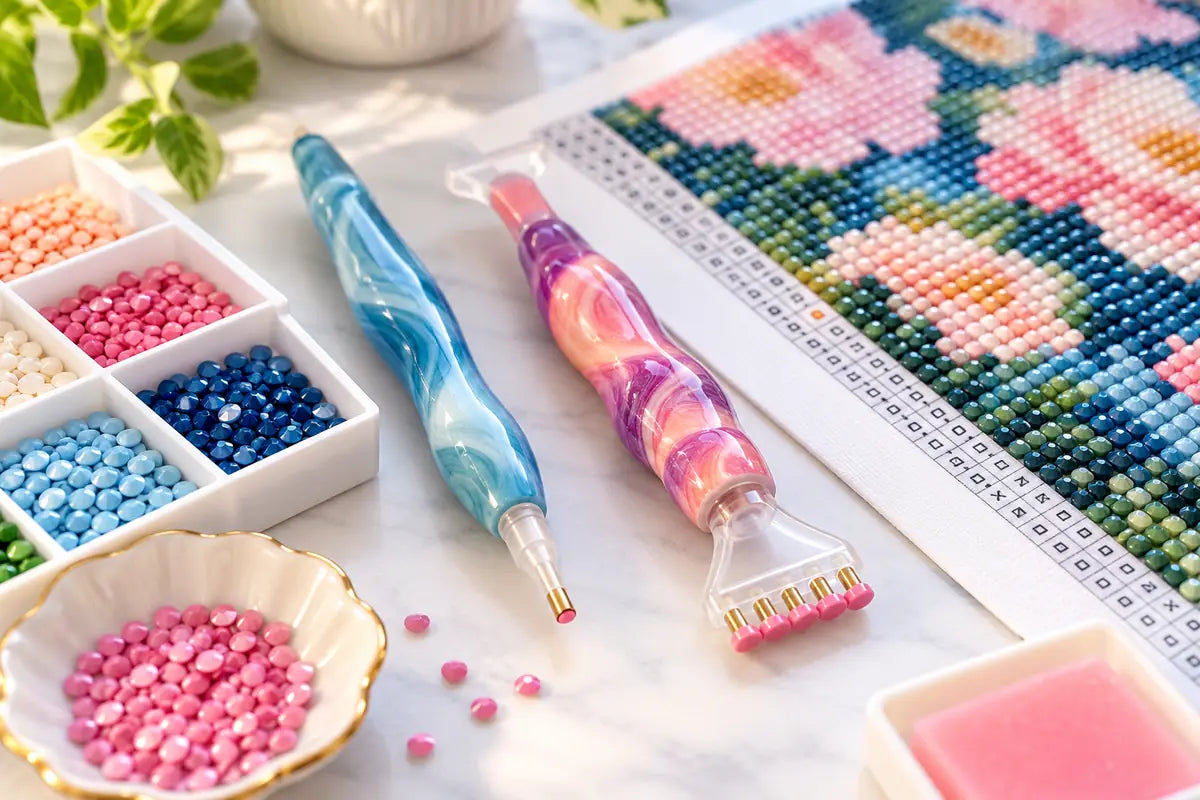
A multi-placer has several pickup points arranged in a line. You load a matching row of drills, then place them together. The tip works best when the canvas has a straight run of the same symbol and the drills are aligned consistently in the tray. It can save repetitive motions on open areas, but it is not automatically faster if you need to keep stopping to realign the row.
Neither tool changes the chart or the adhesive canvas. They change how many drills you try to pick up and place per motion. The exact tip sizes and included accessories vary by pen set, so check the listing for the specific set you are considering.
When a single-placer is the easier choice
- Small or detailed areas: One-at-a-time placement is easier to steer around a curve, border, or isolated symbol.
- Frequent color changes: You can switch colors without preparing a full row of drills.
- Learning the chart: A single tip makes it straightforward to check each symbol and build a steady placement rhythm.
- Touch-ups: It is useful for filling a missed spot or nudging one drill into alignment.
If you are new to the craft, start with the single tip while you learn how the printed symbols map to the drill colors. Our step-by-step diamond painting guide explains how to prepare a section and place drills without exposing more adhesive than you need.
When a multi-placer can help
Try a multi-placer on a reasonably straight patch where several neighboring cells share the same symbol. Pour a small amount of that color into a grooved tray, shake the tray gently until the drills settle into rows, and load only as many as the tip can hold. On the canvas, line the tip up with the matching symbols and lower it evenly.
Start with a short run. If the drills do not land squarely in their cells, lift the pen, reset the row, or return to the single tip. A dense patch with scattered symbols may take longer with a multi-placer because you will spend more time checking alignment and avoiding neighboring colors.

How to choose a pen set
Before ordering, compare the product listing with the way you like to work. Check which tips are included, whether they are interchangeable, and whether the set includes a tray or other supplies. Do not assume every pen set includes the same tip widths, wax, or storage pieces.
For example, the threaded diamond painting pen set listing specifies three pens, twelve interchangeable threaded tips, six pieces of wax, and a storage box. The resin multi-tip pen set is another option to compare; check its current listing for the included tip and accessory details. Product contents can change, so use the live listing as the final reference.
If you already have a pen you like, a replacement or multi-tip set may be more useful than buying another full tool kit. If you are still deciding which supplies to keep nearby, see our diamond painting tools and techniques guide for a broader overview.
A simple way to use both
- Begin a new color with the single tip and check that the symbol and drill color match.
- Look ahead for a straight run of repeated symbols.
- Load a small row into the multi-placer and test it on that run.
- Switch back to the single tip for edges, isolated cells, and corrections.
This keeps the tool choice tied to the canvas instead of forcing one technique across the whole project. If a multi-placer feels awkward, there is no need to use it everywhere. A comfortable, consistent placement matters more than filling every row in one motion.
Frequently asked questions
What is a multi-placer diamond painting pen tip?
It is a pen tip with several pickup points in a row, designed to place multiple drills together when matching symbols form a straight run.
Is a single placer or multi-placer better for beginners?
A single placer is usually easier for learning symbol placement because you handle one drill at a time. A multi-placer can be added later for repeated-color rows.
Does a multi-placer always make diamond painting faster?
No. It can reduce repeated pickups on a straight run, but scattered symbols or frequent alignment corrections can make the single tip more practical.
Can I use a single-placer and multi-placer on the same canvas?
Yes. Many crafters use a multi-placer for matching rows and a single placer for details, borders, isolated symbols, and touch-ups.
Will any multi-placer tip fit my diamond painting pen?
Not necessarily. Tip connections and included sizes vary by set, so confirm compatibility and the exact contents in the product listing before ordering.
Find your next project
Explore diamond painting kits.

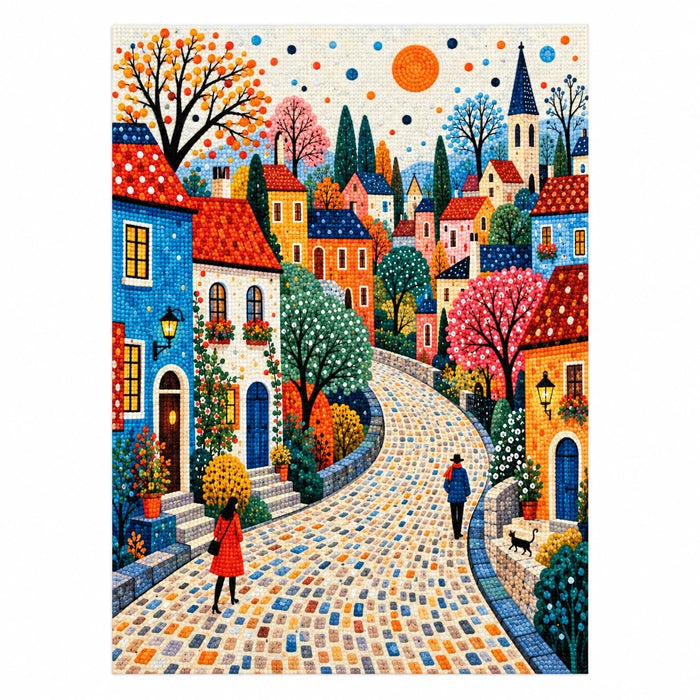
Colorful Village Street Diamond Painting Kit
$23.99

Santa Hug Reindeer Diamond Painting Kit Christmas
$23.99

Tropical Hibiscus Queen Diamond Painting Kit
$23.99

Tropical Macaw Hibiscus Diamond Painting Kit
$23.99
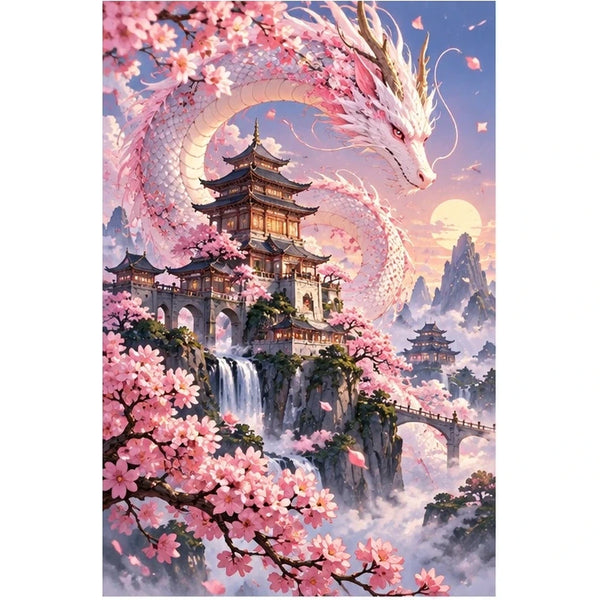
Pink Dragon Cherry Blossom Pagoda Diamond Painting Kit
$23.99

Blue Hydrangea Village Diamond Painting Kit
$23.99
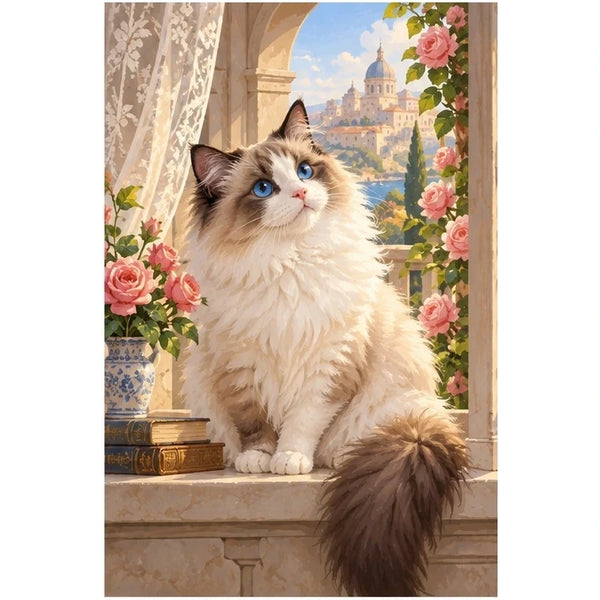
Ragdoll Cat Rose Window Diamond Painting Kit
$23.99