
Diamond Painting Guides
A Creovia beginner guide
What Comes in a Diamond Painting Kit? A Practical Checklist
A practical guide to reading kit contents and checking a listing before you start.
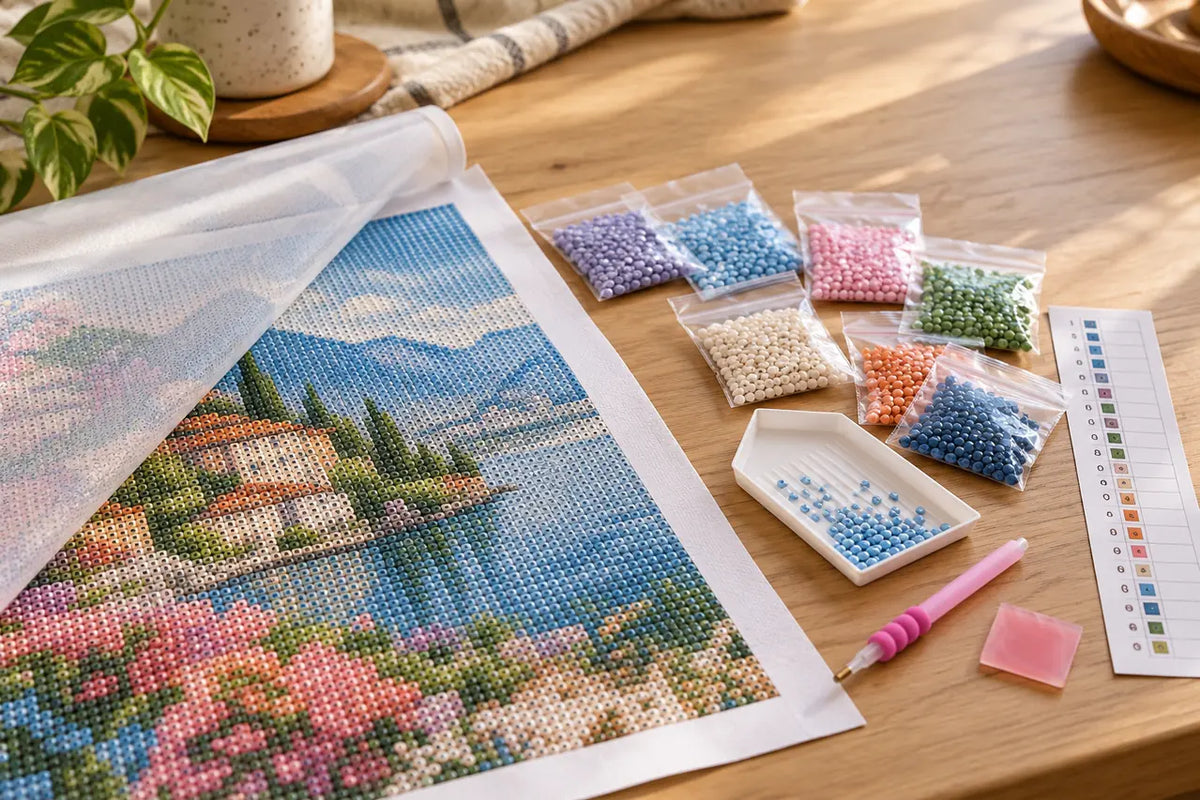
A diamond painting kit centers on a coded adhesive canvas and the drills used to fill its symbols. Tools and extras vary by listing, so the written contents list is the reliable checklist before you order.

Start with the canvas and color key
The canvas carries the design and symbols. A color key links each symbol to a drill color, letting you work a small section without guessing. Compare full artwork and close-up images so you know what the finished composition looks like.
Check the tools listed for that design
Many kits may include a placement pen, tray, and wax or another pickup material; some list bags or spare drills. These are possibilities, not a promise for every design. If you already own a pen or storage supplies, check whether the selected kit includes them before adding extras.

Before opening the kit
Keep the color key and any printed inventory information. Compare the received items with the product’s written list and contact the seller if something listed is missing. Browse the current diamond painting collection and review each design’s own contents and options.
Use a quick pre-start checklist
Before opening packets, confirm the design name, canvas size, and the selected variant against your order. Lay out the printed key, canvas, and listed tools so you can see what is present. If packet codes are hard to read, compare them with the chart in good light before transferring drills into another organizer.
Keep the product page or its written contents list until you have checked the package. Photos can show how an item is used, but they may include props or supplies that are not included. When a specific tool matters to you, look for it in the written list instead of assuming it comes with every kit.
Read the contents list before you compare prices
Two kits can look similar in a thumbnail while including different materials or formats. Read the written contents and options for the exact design you are considering. Look for the canvas, color chart, drills, and any tools named by the seller. If a product page lists a framed and an unframed choice, treat those as separate configurations and confirm what the selected option includes.
Do not use a styled product photo as an inventory list. A photo may show a cup, storage box, scissors, or lighting used for the picture. Those objects are not necessarily part of the kit. The text description is the better source for what arrives, and the variant selector is the better source for which size or format you are buying.
Set up the first work area
When the package arrives, place the canvas on a clean, level table and keep the printed key where you can see it. Check that packet labels can be matched to the chart before you pour drills into another container. This small step helps preserve the relationship between a color and its symbol, especially when several similar shades are used.
Keep the original packets until you know how you want to organize the project. If the kit includes a tool you already own, there is no need to replace it automatically. The goal of the checklist is to understand the specific kit, not to accumulate supplies that the project does not call for.
When something in the package seems unclear
Compare what you received with the product listing and any printed inventory sheet. If an item named in the listing is missing, contact the store with the order details and a clear description. Avoid substituting an unverified adhesive or tool before you know what the kit is intended to include.
A simple checklist for comparing two listings
Put the product pages side by side and compare the same details in each: finished canvas dimensions, drill shape if stated, artwork close-ups, and the written contents. Note any difference between the options rather than relying on the first image. If one listing shows accessories in a lifestyle scene, verify each item in the text before counting it as included.
For a gift or first project, this comparison can also reveal practical differences such as how much table space the artwork may need. The listing does not tell you how quickly you will work, but it does give you the dimensions and configuration to plan around.
Frequently asked questions
Does every kit include a placement pen?
Contents differ by listing. Check the written contents for the particular design before ordering.
Are extra drills included?
Some listings mention spare drills, but the colors and amount can vary. Use the selected kit’s product details.
Do I need to buy tools separately?
Compare the listing with supplies you already own; add extras only if something you need is not included.
What should I check before choosing a kit?
Review the artwork, canvas dimensions, drill type if stated, available options, and written contents list.
Find your next project
Choose a design you’ll love bringing to life.

Scarlet Macaw Tropical Flowers Diamond Painting Kit
$23.99

Autumn Mountain Cabin Lake Diamond Painting Kit
$23.99

Starlit Christmas Village Diamond Painting Kit
$23.99

Tropical Macaw Hibiscus Diamond Painting Kit
$23.99

Colorful Village Street Diamond Painting Kit
$23.99

Colorful Rose Bouquet Diamond Painting Kit
$23.99

Pastel Table Setting Diamond Painting Placemat Kit
$23.99
